4 - 55
ENG
CLUTCH
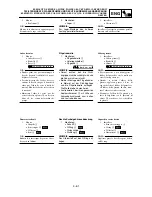
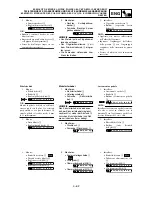
3. Bend the lock washer
1
tab.
4. Install:
●
Seat plate
1
●
Cushion spring
2
NOTE:
●
Install the seat plate with its chamfered por-
tion
a
facing the clutch boss
3
.
●
Install the seat plate so that it is not caught
on the step
b
.
●
Install the cushion spring with the paint
c
facing out.
1
2
c
3
a b
5. Install:
●
Friction plate 1
1
●
Clutch plate 1
2
●
Friction plate 2
3
●
Clutch plate 2
4
NOTE:
●
Install the clutch plates and friction plates
alternately on the clutch boss, starting with a
friction plate and ending with a friction plate.
●
Use the friction plates 1 for the first and final
while paying attention to the difference in
surface pattern.
●
Apply the engine oil on the friction plates and
clutch plates.
●
Unlike the clutch plate 2, the clutch plate 1
has no surface gloss. Use the clutch plate 1
for the first while paying attention to the dif-
ference in surface gloss.
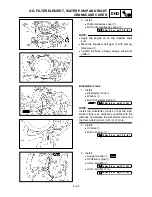
6. Install:
●
Bearing
1
●
Washer
2
●
Circlip
3
To push rod 1
4
.
NOTE:
Apply the engine oil on the bearing and
washer.
Summary of Contents for WR250F(P)
Page 604: ...5 67 CHAS REAR SHOCK ABSORBER 8 Install Band 1 Taillight connector 2...
Page 692: ......
Page 693: ......


