1-48
Getting Started
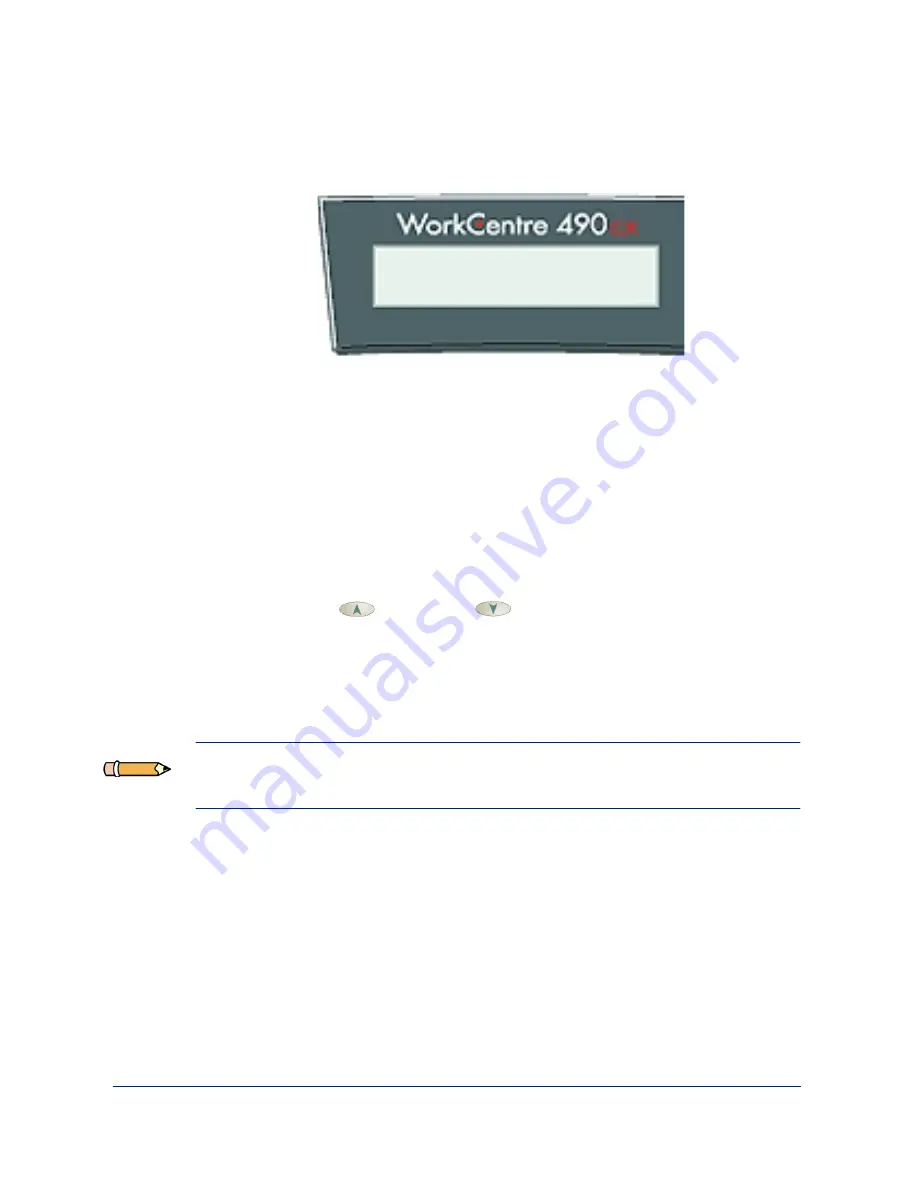
After printing out the Cartridge Alignment sheet, the Cartridge
Maintenance setup menu appears on the LCD display.
The letter A, located on the right end of the lower line in the display,
corresponds to alignment test pattern A. The range of numbers
bracketed in the center of the display line indicates the range of valid
pattern selection choices. The flashing number on the left side of the
display indicates the line from print pattern A that is currently selected
as optimal.
4
Using the Number Keypad, enter the number of the line which appears
the straightest from pattern A.
5
Press the Up
and Down
button to confirm your selection.
The LCD panel updates and the setup screen for the Alignment B test
pattern is displayed.
6
Repeat steps 4 and 5 for Alignment test patterns B through F.
Note: After entering the value for Alignment test pattern F, the user is
returned to normal operation.
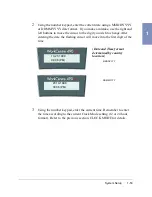
CARTRIDGE MAINT.
<15> [0-30] A
Summary of Contents for WorkCentre 490cx
Page 1: ...The Document Company XEROX WorkCentre 490cx Color All in One User Guide ...
Page 8: ...viii ...
Page 84: ...1 72 Getting Started ...
Page 94: ...2 10 Making a Copy ...
Page 158: ...3 64 Sending a Fax ...
Page 210: ...6 18 Scanning ...
Page 215: ...Clearing Jams 7 5 7 4 Adjust the paper guide to match the width of the paper ...
Page 254: ...8 16 Maintenance 4 Remove the Ink Cartridges ...
Page 320: ...Index 6 ...

