Installation and Reference Manual
System Operation
54
Installation and Reference Manual v3.2/0410/6
6
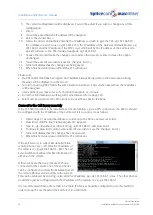
The current configuration will be displayed. You will be asked if you wish to change any of this
configuration.
7
Enter
y
8
You will be asked how the IP address will be assigned.
9
Delete the
d
and enter
s
10
Follow the onscreen prompts entering the IP address you wish to give the PCS, eg 192.168.0.50,
the netmask you wish to use, eg 255.255.255.0, the IP address of the Gateway (Default Router), eg
192.168.0.1 and the IP address of the TFTP server which will be the IP address of the Call Server to
provide software to the PCS during an upgrade, eg 192.168.0.1.
11
At any other prompt make the changes you require otherwise press Enter to leave the option
unchanged.
12
You will be asked if you wish to save the changes. Enter
y
.
13
Telnet will display that the changes are being saved.
14
When finished enter
poweroff
and the PCS will reboot
Please note:
•
If a PCS 560/570/580 has been given an IP address already being used on the network a warning
message will be displayed on the screen.
•
To return to using DHCP follow the same instructions above. Enter
d
when asked how the IP address
will be assigned.
•
At any prompt you may enter a
?
for help on that option or
q
to quit.
•
For further information on working with Telnet please refer to page 270.
•
Setnet can be used to set the Time Zone to be used by a specific IP phone
Connect to the Call Server remotely
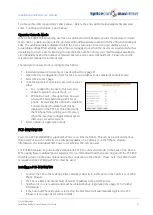
If the PCS 580/570/560 is to be installed at a remote location, eg via a VPN connection, the phone should
be configured with the IP address of the Call Server it is to connect to as follows.
1
Follow steps 1-7 as described above to telnet on to the phone and access Setnet.
2
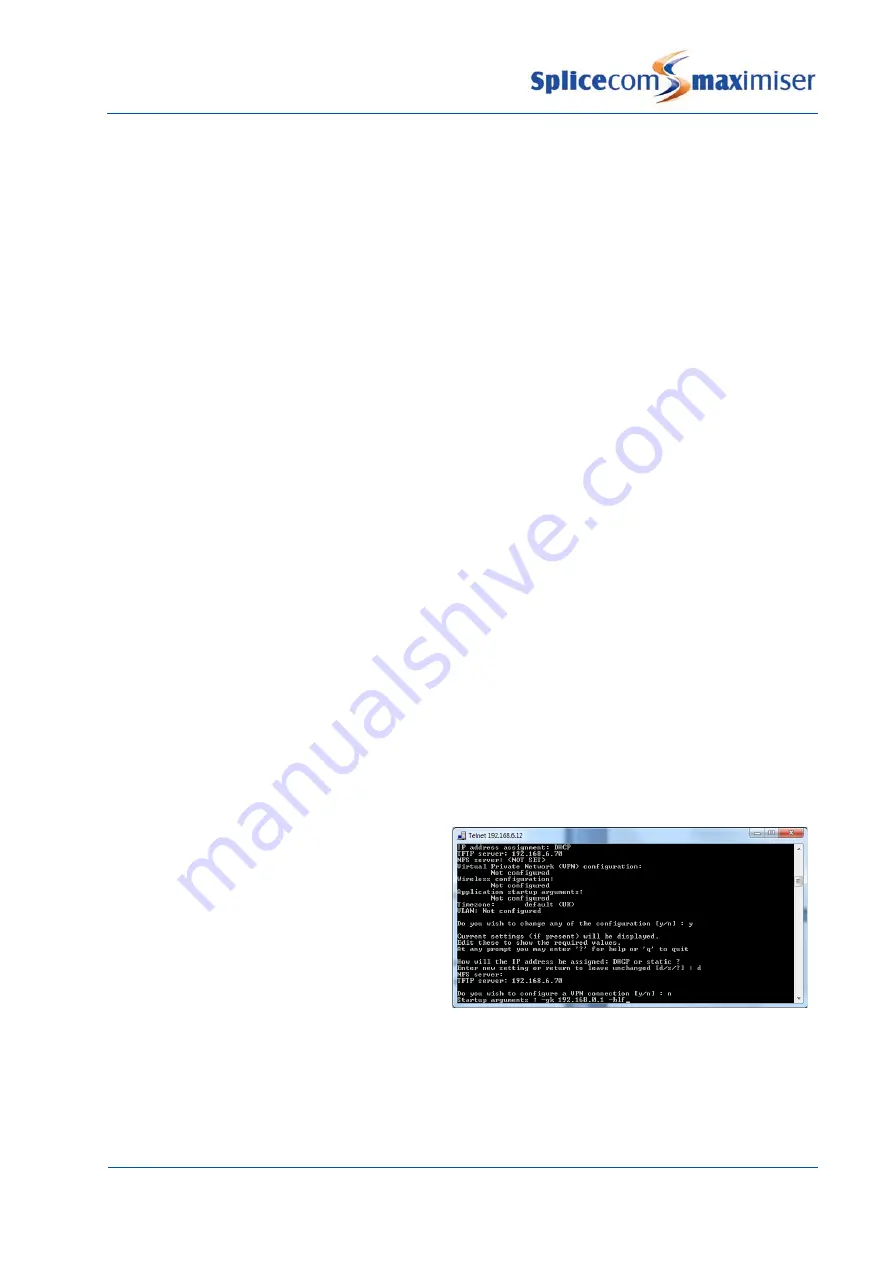
Press Enter until the line “Startup arguments” appears.
3
Type in
–gk <ip address of call server>
eg –gk 192.168.0.1, and press Enter
4
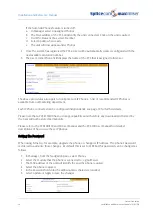
Continue to press Enter until you are asked if you wish to save the changes. Enter
y
.
5
Telnet will display that the changes have been saved.
6
When finished enter
poweroff
and the PCS will reboot.
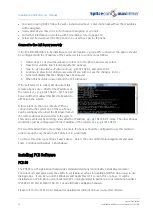
If the Call Server is to collect BLF data from this
remote phone enter
–blf
after the IP address of
the call server, eg –gk 192.168.0.1 –blf. The Call
Server will then multicast this BLF information to
all PCSs on the system.
If there are more than one remote IP Phone
connected to the system one of these phones
can be configured to collect the BLF data from all
the remote phones and send this to the system.
This can be achieved by entering
–relay
after the IP address, eg –gk 192.168.0.1 –relay. The other phones
would then just be configured with the IP address of the call server, eg –gk 192.168.0.1.
It is recommended that no more than 5-6 remote IP phones should be configured to use this facility in
order to keep the overhead on the Call Server to a minimum.

