Installation and Reference Manual
Working with Voicemail
208
Installation and Reference Manual v3.2/0410/6
3
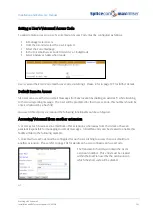
Within the Email Smart Host field enter the IP address of the SMTP mail server
4
Within the Email Source Address enter the name of the account that will be displayed in the From
field of an email.
5
Select Update or Apply when ready.
Configuring a User to utilize this facility
1
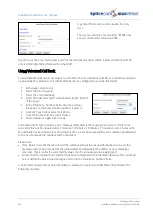
In Manager select Users
2
Select the User required
3
Select the Voicemail page
4
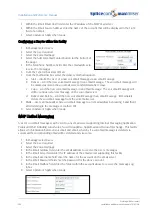
Select the Add Voicemail Contact button (at the bottom of
the page)
5
In the Telephone Number field enter the email address to
receive the messages.
6
From the Type list box select Email
7
From the Method list box select the delivery method required:
a
Alert – inform the User of a new voicemail message via an email message
b
Deliver – send the new voicemail message in an email message. The voicemail message will
be marked as old on the voicemail server and deleted after 7 days.
c
Copy – send the new voicemail message in an email message. The voicemail message will
still be considered a new message on the voicemail server.
d
Deliver and Delete – send the new voicemail message in an email message. Immediately
delete the voicemail message from the voicemail server.
8
Blank – User can manually send a voicemail message to an email address by pressing 5 and then 3
after listening to the message or via their PCS.
9
Select Update or Apply when ready.
IMAP Unified Messaging
A User’s voicemail messages can be sent to any email server supporting Internet Messaging Application
Protocol (IMAP) including Lotus Notes, Novell GroupWise, AppleMail and Microsoft Exchange. This facility
allows synchronisation between voicemail and email, whereby if a voicemail message is deleted via
voicemail the corresponding email will be deleted and visa versa.
1
In Manager select Users
2
Select the User required
3
Select the Voicemail page
4
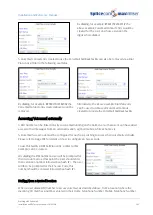
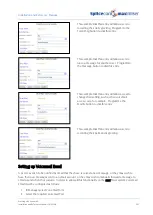
In the Email Address field enter the email address to receive the User’s messages
5
In the Email Server field enter the IP address of the email server supporting this facility
6
In the Email Username field enter the name for the account on the email server.
7
In the Email Password field enter the password for the above account
8
In the Email Mailbox field enter the folder within the account above to receive the messages eg
Inbox
9
Select Update or Apply when ready.

