Installation and Reference Manual
Configuring PBX functionality
Installation and Reference Manual v3.2/0410/6
161
Creating a Trunk Group
Trunk Groups allow one or more Trunks to be grouped together so that outgoing calls can be routed on
to specific Trunks. LCR Plan entries point to a Trunk Group so that when specific digits are dialled these
calls will be routed to the correct Trunk(s).
By default, all Trunks are members of the AllTrunks group, and the default entry in the Standard LCR Plan
points to the AllTrunks group. Therefore all outgoing calls, by default, will use the first available Trunk.
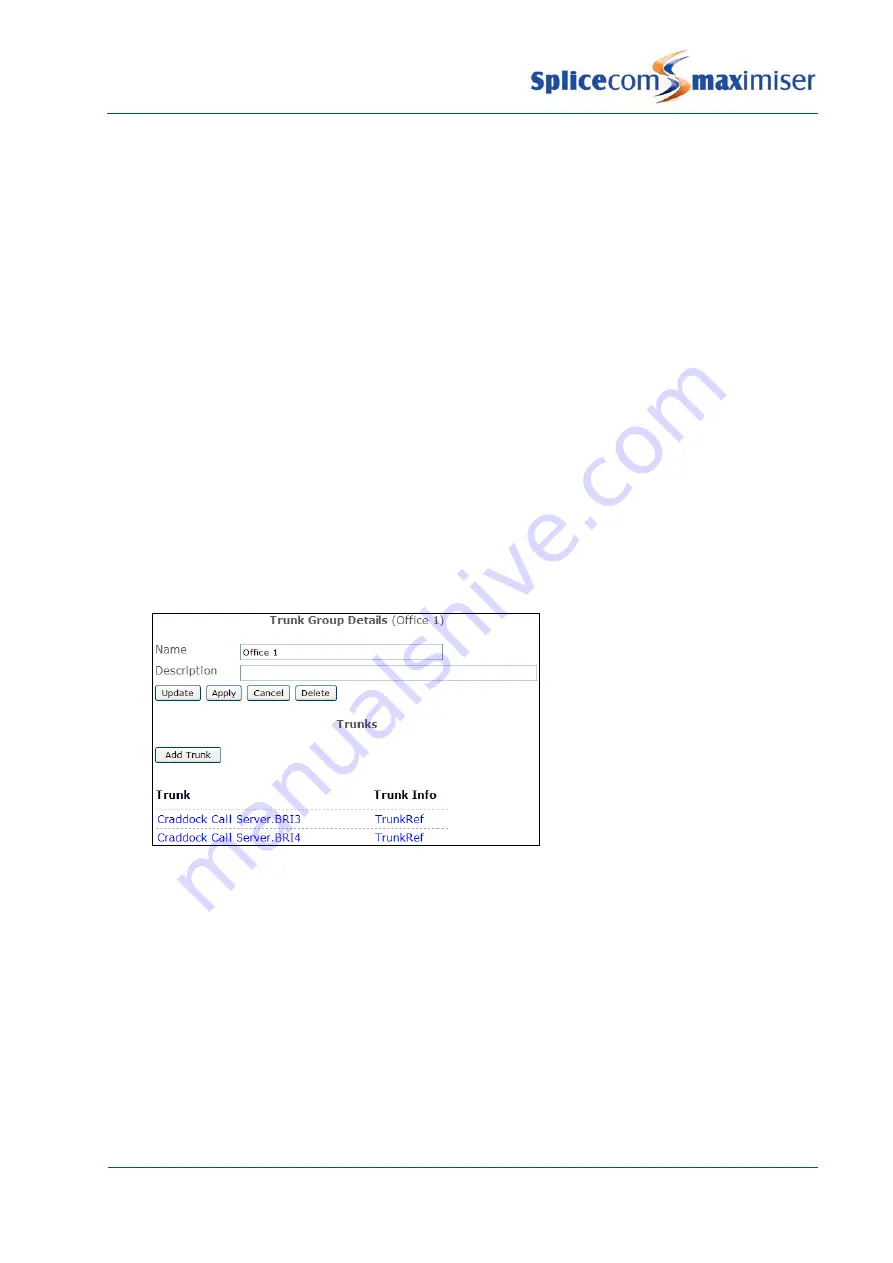
However, further Trunk Groups can be created as follows:
1
In Manager select Trunk Groups
2
Select the Add button
3
Enter a Name, using alpha-numeric characters only, begin with a letter and do not use any
punctuation, and a Description if required
4
Select Apply
5
Select Add Trunk
6
Select the Trunk field
7
From the Select Module for Trunks list select the relevant module, eg Call Server
8
From the Select Trunk list select the Trunk required
9
Select Update
10
Repeat steps 5 to 9 to add further Trunks
11
Select Update or Apply when ready.
Please note: if a Trunk Group contains trunks from multiple Call Servers, trunks located on the Call Server
where the call was initiated will be used first.
Assigning a Trunk Group to a LCR Plan entry
Outgoing calls are routed to a specific Trunk Group via a LCR Plan entry.
1
In Manager select LCR Plans
2
Select the LCR Plan required
3
Select Add LCR Plan Entry

