


Specify the port to use for the connection between the computer and machine using one of the
following methods:
To specify the IP address
1. Enter the IP address of the machine, and then click [Next].
2. Proceed to Step 9.
To select from the port list
1. Select the port to use for the connection between the computer and machine, and then
click [Next].
2. Proceed to Step 9.
To create a new port
1. Select [Specify a new port], and then click [Next].
2. On the "Add Printer and Utility Wizard" screen, select [Standard TCP/IP Port] and click
[Next].
3. On the "Add Standard TCP/IP Printer Port Wizard" screen, click [Next].
4. On the "Add port" screen, enter the printer name or IP address of the machine, and then
click [Next].
The port name is automatically entered. You can change the port name.
5. When the "Additional port information required" screen is displayed, select [RICOH
Network Printer C model], and then click [Next].
6. Click [Finish].
9.
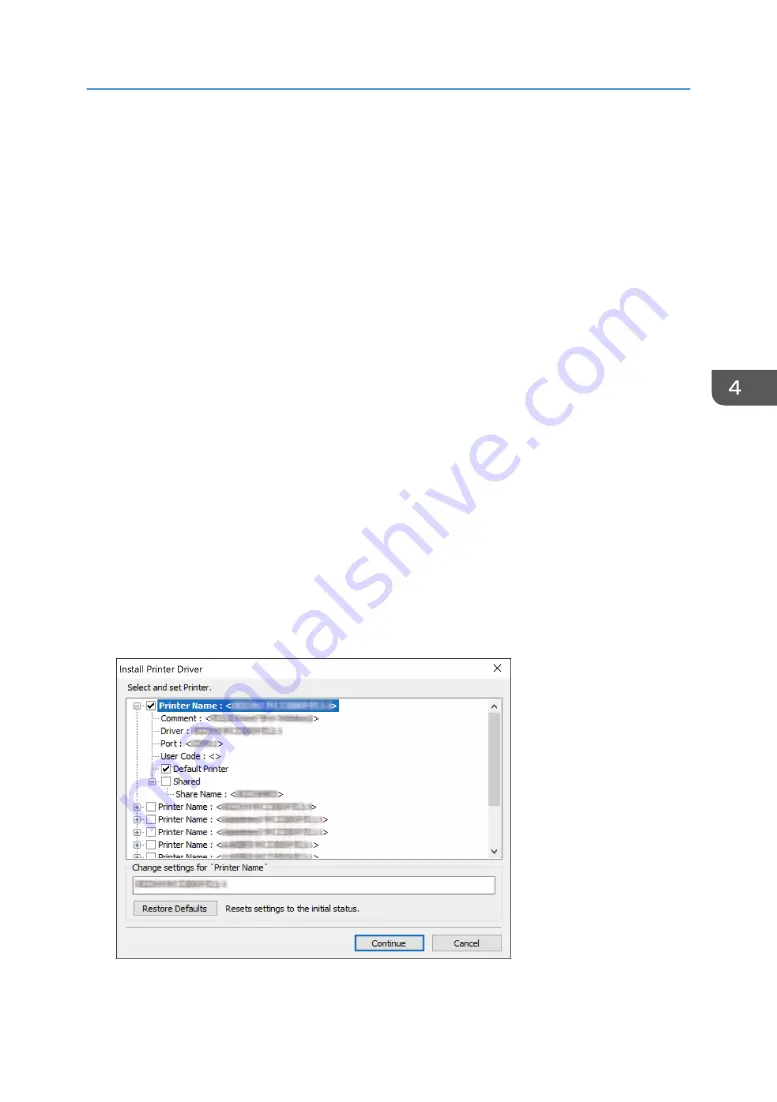
Specify the name of the printer to install, and whether to use it as the default printer.
Installing the Printer Driver for Network Connection (Windows)
115
Summary of Contents for IM 550 Series
Page 2: ......
Page 76: ...1 Getting Started 74...
Page 94: ...2 Copy 92...
Page 168: ...5 Scan 166...
Page 176: ...6 Document Server 174...
Page 182: ...7 Web Image Monitor 180...
Page 218: ...8 Adding Paper and Toner 216...
Page 332: ...10 Specifications for the Machine 330...
Page 340: ...MEMO 338...
Page 341: ...MEMO 339...
Page 342: ...MEMO 340 EN GB EN US EN AU D0BW 7024...
Page 343: ...2019...
Page 344: ...D0BW 7024 AU EN US EN GB EN...