3-8 Setting Up Your Server
Installing rail assemblies
1.
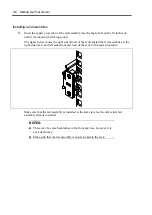
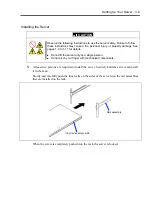
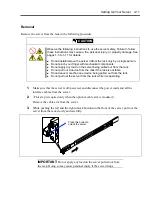
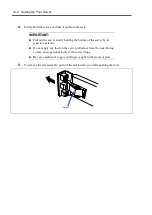
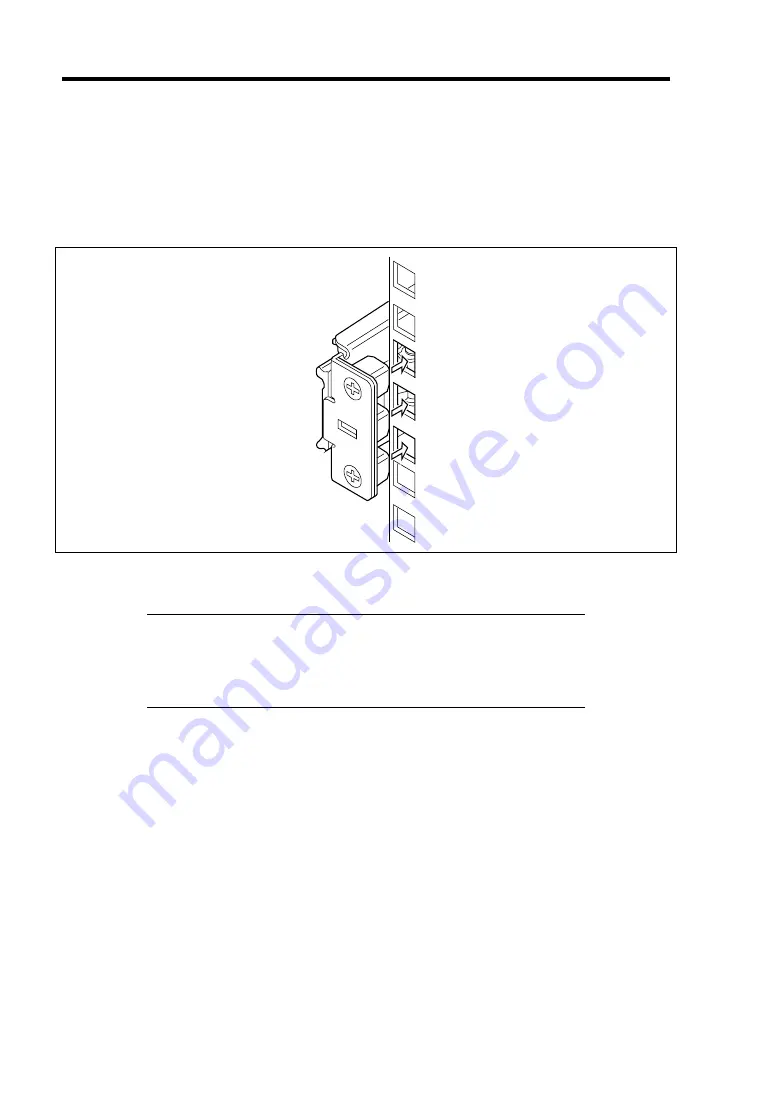
Insert the square projection of the rail assembly into the angle hole on the 19-inch rack
until it is locked with clicking sound.
The figure below shows the right side (front) of the rack. Install the rail assemblies to the
right side (rear), and left side (front and rear) of the rack in the same procedure.
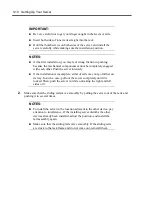
Make sure that the rail assembly is installed at the same level as the other slide rail
assembly already installed.
NOTES:
There may be some backlashes in the front and rear, however, it is
not a deficiency.
Make sure that the rail assembly is surely locked to the rack.
Summary of Contents for N8100-14522F
Page 16: ...x This page is intentionally left blank...
Page 122: ...4 54 Configuring Your Server This page is intentionally left blank...
Page 178: ...6 22 Installing and Using Utilities This page is intentionally left blank...
Page 190: ...7 12 Maintenance This page is intentionally left blank...
Page 254: ...A 2 Specifications This page is intentionally left blank...
Page 262: ...C 2 IRQ This page is intentionally left blank...
Page 316: ...F 2 Using a Client Computer Which Has a CD Drive This page is intentionally left blank...
Page 320: ...G 4 Product Configuration Record Table This page is intentionally left blank...

