E-10 Installing Windows Server 2003
13.
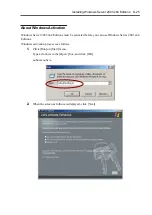
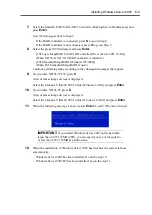
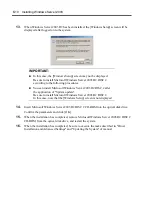
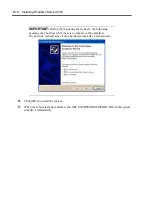
When Windows Server 2003 R2 has been installed, the [Windows Setup] screen will be
displayed after logged on to the system.
IMPORTANT:
In this case, the [Windows Setup] screen may not be displayed.
Be sure to install Microsoft Windows Server 2003 R2 DISC 2
according to the following procedures.
You can install Microsoft Windows Server 2003 R2 DISC 2 after
the application of "System update".
Be sure to install Microsoft Windows Server 2003 R2 DISC 2.
In this case, note that the [Windows Setup] screen is not displayed.
14.
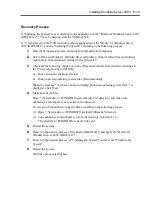
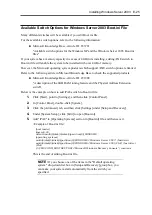
Insert Microsoft Windows Server 2003 R2 DISC 2 CD-ROM into the optical disk drive.
Confirm the parameters and click [OK].
15.
When the installation has completed, remove Microsoft Windows Server 2003 R2 DISC 2
CD-ROM from the optical disk drive, and restart the system.
16.
When the installation has completed, be sure to execute the tasks described in "Driver
Installation and Advanced Settings" and "Updating the System" of manual.
Summary of Contents for N8100-14522F
Page 16: ...x This page is intentionally left blank...
Page 122: ...4 54 Configuring Your Server This page is intentionally left blank...
Page 178: ...6 22 Installing and Using Utilities This page is intentionally left blank...
Page 190: ...7 12 Maintenance This page is intentionally left blank...
Page 254: ...A 2 Specifications This page is intentionally left blank...
Page 262: ...C 2 IRQ This page is intentionally left blank...
Page 316: ...F 2 Using a Client Computer Which Has a CD Drive This page is intentionally left blank...
Page 320: ...G 4 Product Configuration Record Table This page is intentionally left blank...

