9-18 Upgrading Your Server
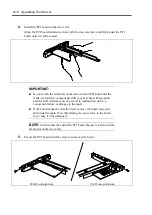
4.
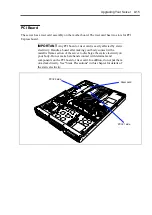
Install the PCI board on the riser card.
Align the PCI board terminal section with the riser card slot, and firmly push the PCI
board until it is fully seated.
IMPORTANT:
Do not touch the terminals of the riser card and PCI board and the
leads of electronic components with your bare hand. Fingerprints
and dust left on them cause the server to malfunction due to a
connection failure or damage to the leads.
If the board cannot be installed well, remove the board once and
then install it again. Note that adding an excess force to the board
may cause it to be damaged.
NOTE:
Confirm that the end of the PCI board bracket is inserted in the
frame slot of the riser card.
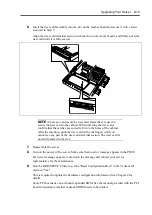
5.
Secure the PCI board with the screw you removed in Step 3.
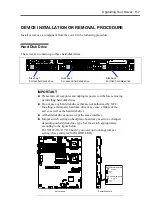
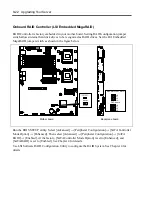
PCI #2 Full-height side
PCI #1 Low-profile side
Summary of Contents for N8100-14522F
Page 16: ...x This page is intentionally left blank...
Page 122: ...4 54 Configuring Your Server This page is intentionally left blank...
Page 178: ...6 22 Installing and Using Utilities This page is intentionally left blank...
Page 190: ...7 12 Maintenance This page is intentionally left blank...
Page 254: ...A 2 Specifications This page is intentionally left blank...
Page 262: ...C 2 IRQ This page is intentionally left blank...
Page 316: ...F 2 Using a Client Computer Which Has a CD Drive This page is intentionally left blank...
Page 320: ...G 4 Product Configuration Record Table This page is intentionally left blank...

