Installing Windows Server 2003 E-13
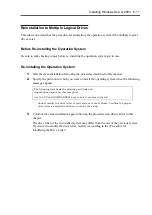
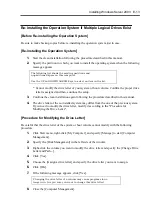
Re-installing the Operation System if Multiple Logical Drives Exist
[Before Re-installing the Operation System]
Be sure to make backup copies before re-installing the operation system just in case.
[Re-installing the Operation System]
1.
Start the clean installation following the procedure described in this manual.
2.
Specify the partition in which you want to install the operating system when the following
message appears:
The following list shows the existing partitions and
unpartitioned space on this computer.
Use the UP and DOWN ARROW keys to select an item in the list.
* Cannot modify the drive letter of your system or boot volume. Confirm the proper drive
letter is assigned and then, continue the setup.
3.
Continue the clean installation again following the procedure described in this manual.
4.
The drive letter of the re-installed system may differ from the one of the previous system.
If you need to modify the drive letter, modify it according to the "Procedure for
Modifying the Drive Letter".
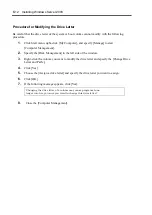
[Procedure for Modifying the Drive Letter]
Be careful that the drive letter of the system or boot volume cannot modify with the following
procedure.
1.
Click Start menu, right-click [My Computer], and specify [Manage] to start [Computer
Management].
2.
Specify the [Disk Management] in the left side of the window.
3.
Right-click the volume you want to modify the drive letter and specify the [Change Drive
Letter and Path...].
4.
Click [Yes].
5.
Choose the [Assign a drive letter] and specify the drive letter you want to assign.
6.
Click [OK].
7.
If the following message appears, click [Yes].
Changing the drive letter of a volume may cause programs to no
longer run. Are you sure you want to change this drive letter?
8.
Close the [Computer Management].
Summary of Contents for N8100-14522F
Page 16: ...x This page is intentionally left blank...
Page 122: ...4 54 Configuring Your Server This page is intentionally left blank...
Page 178: ...6 22 Installing and Using Utilities This page is intentionally left blank...
Page 190: ...7 12 Maintenance This page is intentionally left blank...
Page 254: ...A 2 Specifications This page is intentionally left blank...
Page 262: ...C 2 IRQ This page is intentionally left blank...
Page 316: ...F 2 Using a Client Computer Which Has a CD Drive This page is intentionally left blank...
Page 320: ...G 4 Product Configuration Record Table This page is intentionally left blank...

