Configuration
92
2.
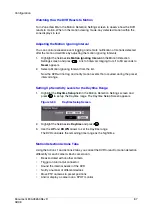
Highlight the slider bar beside Check Obscuration, and use the LEFT and RIGHT
arrows to adjust the setting. The sensitivity can be set from Never to 15 (extremely
sensitive).
Actions 1 Tab Settings
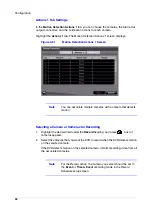
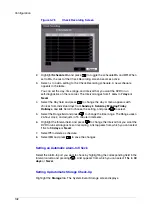
In the Video Loss Actions 1 tab, you can choose the cameras, the Alarm-Out output
connectors, and the notification actions for each camera.
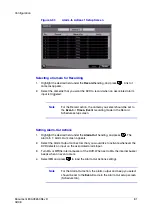
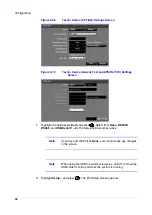
Highlight the Actions 1 tab. The Video Loss Actions 1 screen displays.
Figure 3-65
Video Loss Actions 1 Screen
Selecting a Camera or Cameras for Recording
You can set the DVR to start recording video from all the associated cameras if the DVR
detects video loss on the selected camera.
1.
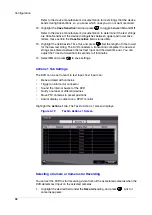
Highlight the desired field under the Record heading, and press
. A list of
cameras appears.
2.
Select as many cameras as you wish to associate with that camera to have the
DVR to record when video loss is detected.
If the DVR detects video loss on the selected camera, it starts recording video
from all the associated cameras.
Note
For the Record action, the camera you select should be set to
the Event or Time & Event recording mode in the Record
Schedule setup screen (see
).
Summary of Contents for HRSD16
Page 12: ...Tables 12 ...
Page 18: ...18 ...
Page 22: ...Introduction 22 ...
Page 138: ...Operation 138 ...
Page 140: ...USB Hard Disk Drive Preparation 140 ...
Page 158: ...Time Overlap 158 ...
Page 160: ...Troubleshooting 160 ...
Page 162: ...Connector Pinouts 162 ...
Page 163: ...Map of Screens Document 800 03650 Rev D 163 02 09 H Map of Screens ...
Page 164: ...Map of Screens 164 ...
Page 166: ...System Log Notices 166 ...
Page 175: ......

