Configuration
76
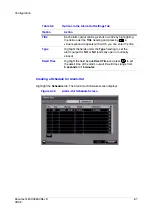
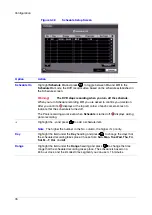
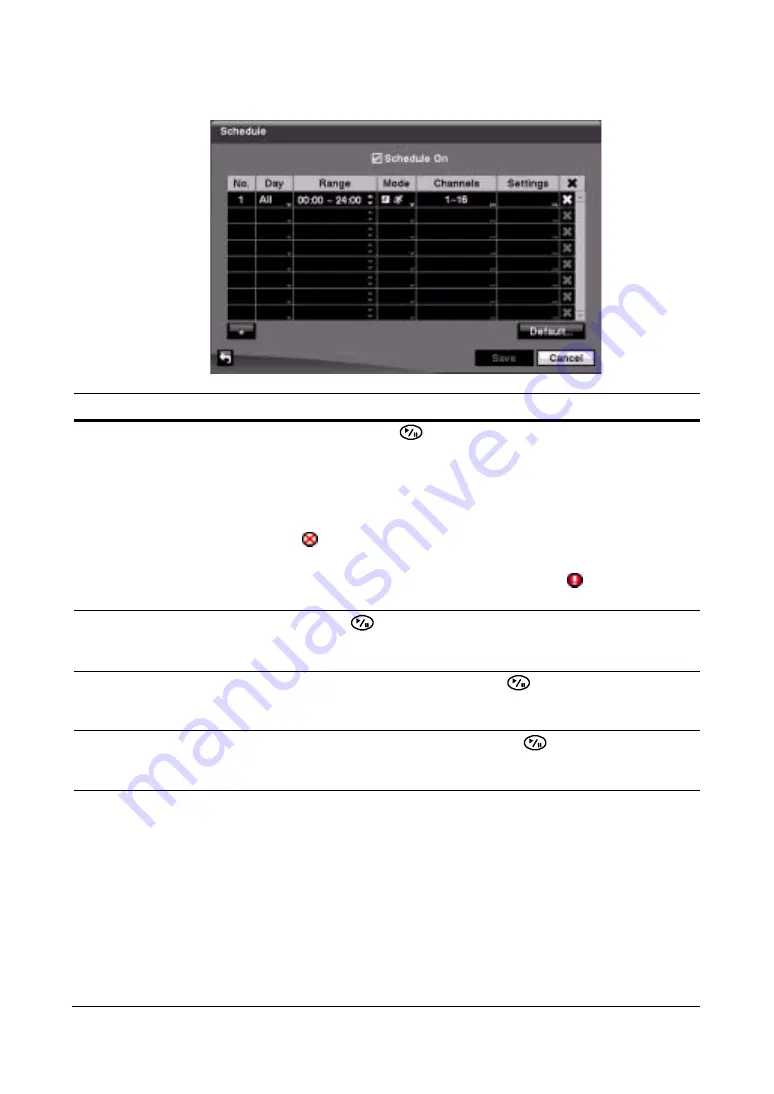
Figure 3-48
Schedule Setup Screen
Option
Action
Schedule On
Highlight Schedule On and press
to toggle between On and Off. In the
Schedule On mode, the DVR records video based on the schedule established in
the Schedule screen.
Warning!
The DVR stops recording when you turn off the schedule.
When you turn Schedule recording Off, you are asked to confirm your decision.
After you confirm,
displays at the top-left corner of each camera screen to
indicate that the schedule is turned off.
The Panic recording works even when Schedule is turned off.
displays during
panic recording.
+
Highlight the + and press
to add a schedule item.
Note
The higher the number in the No. column, the higher it’s priority.
Day
Highlight the field under the Day heading and press
to change the days that
the scheduled recording takes place. Choose from: Sun, Mon, Tue, Wed, Thu, Fri,
Sat, M~F, Hol, and All.
Range
Highlight the field under the Range heading and press
to change the time
range that the scheduled recording takes place. The schedule is based on a
24-hour clock, and the smallest time segment you can use is 15 minutes.
Summary of Contents for HRSD16
Page 12: ...Tables 12 ...
Page 18: ...18 ...
Page 22: ...Introduction 22 ...
Page 138: ...Operation 138 ...
Page 140: ...USB Hard Disk Drive Preparation 140 ...
Page 158: ...Time Overlap 158 ...
Page 160: ...Troubleshooting 160 ...
Page 162: ...Connector Pinouts 162 ...
Page 163: ...Map of Screens Document 800 03650 Rev D 163 02 09 H Map of Screens ...
Page 164: ...Map of Screens 164 ...
Page 166: ...System Log Notices 166 ...
Page 175: ......

