Preparing to Cut: Setting Conditions
57
Press the F4 key to select CUTTING PRO.
Press the F3 key to select YES and start.
Press the F4 key to select NO and cancel.
• Adjust the cutting conditions and re-run the cutting test.
• Repeat this process until you achieve the desired results.
• Press the ENTER key to return to the READY mode when the results are satis-
factory.
Plotter Pen Con-
ditions
To change the setting of a group of conditions, press the function key [F1]
through [F4] corresponding to the number of the group you wish to change. For
example, press the F2 key to select CONDITION 2. If CONDITON 6 appears, then
press the F2 key again to select CONDITION 2.
P
EN
R
EFERENCE
V
ALUES
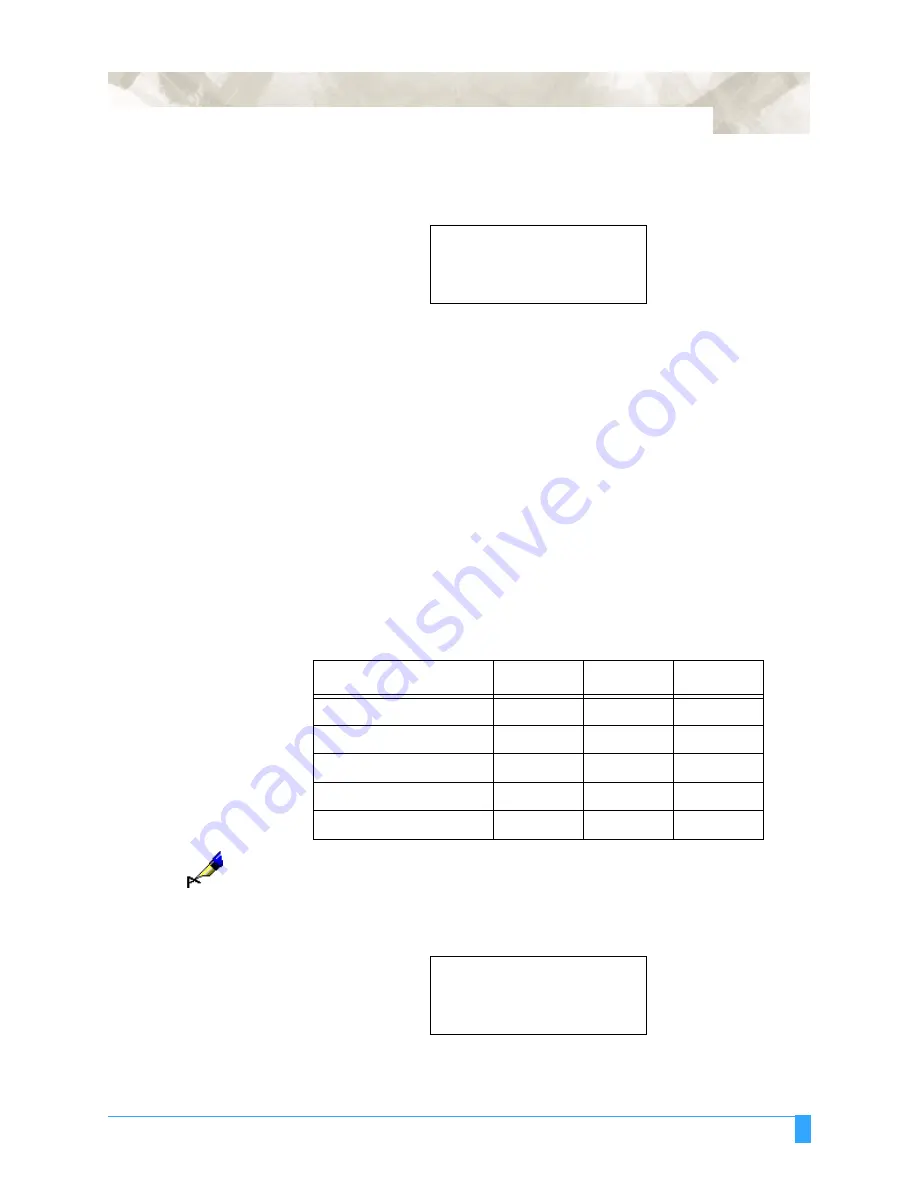
The table below gives the recommended settings for each pen condition.
NOTE:
The condition settings will vary according to the type of paper being used. To
prolong the life of your pen keep the FORCE setting as low as possible. Set
the SPEED according to the type of output quality required.
Press the CONDITION key to access the condition menu.
PATTERN CUTTING PRO
OK?
YES>
.
NO>
.
Pen type
Force
Speed
Quality
Water-based fibertip pen
10 to 12
30
4
Oil-based fibertip pen
10 to 12
20
2
Water-based ballpoint pen
15 to 18
60
4
Ceramic pen
7 to 8
20
2
Ink pen
4 to 7
10
2
SET
............
14
.
CONDITION 2
........
60
.
4
.
PEN
......
Summary of Contents for FC5100A-100
Page 1: ...A 75 100 130 150 user manual MANUAL NO FC5100 UM 154...
Page 3: ......
Page 11: ......
Page 27: ...Out of the Box Connecting the Plotter 27...
Page 33: ...Cutters and Holders Blade Length 33...
Page 133: ...Advanced Functions and Settings RS 232C Serial Interface 133...
Page 149: ...Background Settings Background Settings for HP GL 149...


