48
GigaVUE-HC3 Hardware Installation Guide
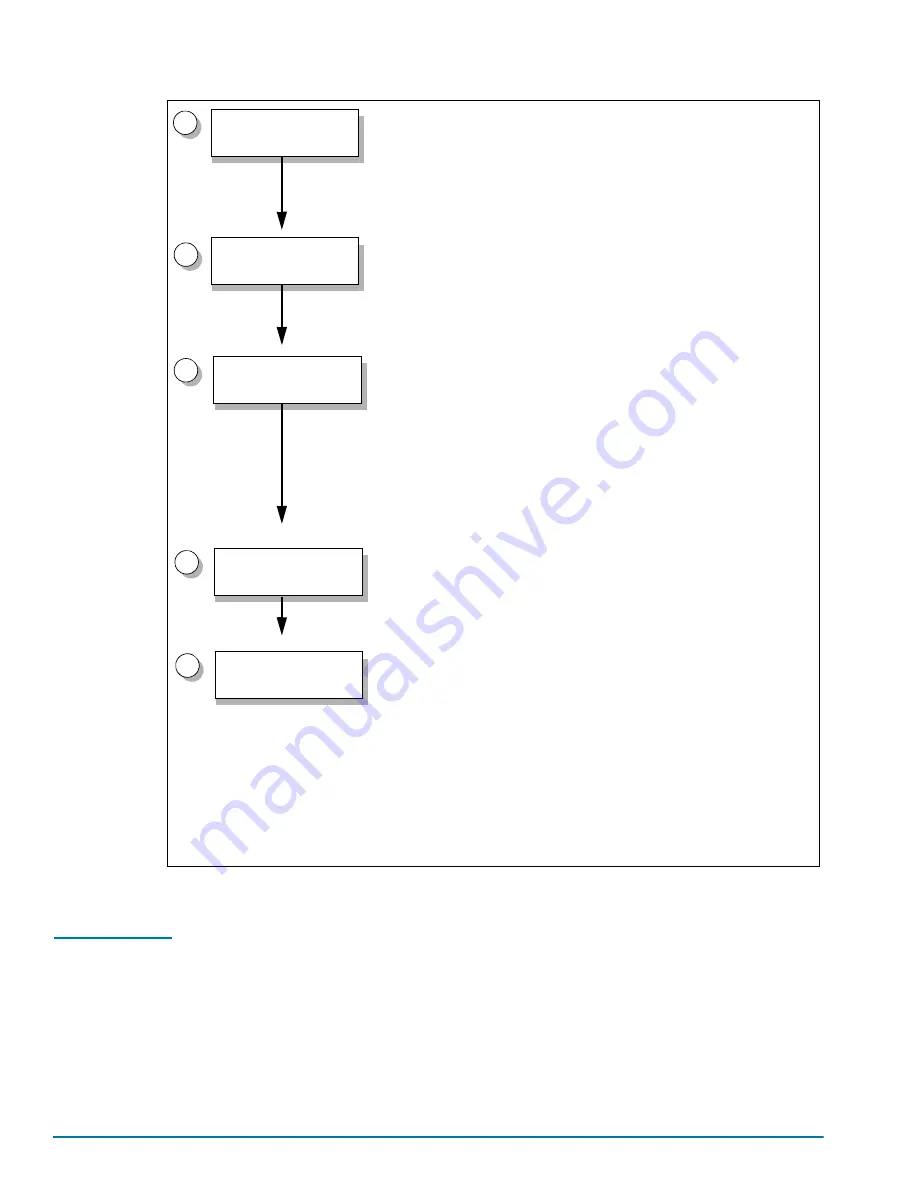
Figure 2-1: Getting Started Roadmap
Next Steps
Once you have performed the initial configuration of the GigaVUE-HC3 node, installing,
connecting, and configuring the node, you are ready to get started mapping traffic
between network and tool ports.
Refer to the
GigaVUE-OS CLI Reference Guide, GigaVUE-FM User’s Guide,
and
online help for information.
1
Step 1: Unpack the GigaVUE-HC3
Remove the GigaVUE-HC3 chassis from its packaging and open the
boxes. Refer to the following:
•
Unpacking the GigaVUE-HC3 Shipment
Step 2: Rack Mount the GigaVUE-HC3
Use either a scissors lift or two or more people to rack-mount the empty
GigaVUE-HC3 chassis. Refer to the following:
•
Rack-Mounting the GigaVUE-HC3 Chassis
Step 3: Install Components
Once the empty chassis is successfully installed in the rack, install
GigaVUE-HC3 components, including the following:
•
Installing Power Supply Modules in GigaVUE-HC3
•
Installing Cable Management Left and Right
•
Installing and Removing Modules
Install Components
2
3
Unpack the HC3
Shipment
Rack-Mount the
HC3 Chassis
Step 4: Make Connections
Supply power and connect the Mgmt/console ports on the extension
board. Refer to
Connecting Serial Console and Mgmt Ports
.
Make Connections
4
Step 5: Access the Command-Line Interface
Use terminal software to connect to the GigaVUE-OS and run the
jump-start script to configure operating essentials:
•
Hostname
•
IP settings for the Mgmt port
•
Security settings
•
Admin password
•
Box ID
•
Cluster configuration
Configuring Basic GigaVUE H Series Settings
Access the
Command-Line Interface
5
Summary of Contents for GigaVUE-HC3
Page 1: ...GigaVUE HC3 Hardware Installation Guide GigaVUE OS 5 7 00...
Page 46: ...46 GigaVUE HC3 Hardware Installation Guide...
Page 70: ...70 GigaVUE HC3 Hardware Installation Guide...
Page 112: ...112 GigaVUE HC3 Hardware Installation Guide...
Page 126: ...126 GigaVUE HC3 Hardware Installation Guide...
Page 132: ...132 GigaVUE HC3 Hardware Installation Guide...


