


Exinda Network Orchestrator
3 Using
|
297
NOTE
While creating the policy set, if you create a new policy but cancel creating the policy set, the new policy is retained
in the library.
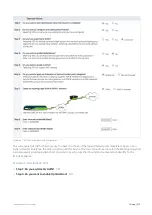
Creating a policy for a specific virtual circuit in the Exinda Web UI
Use the following instructions to create a policy that relates to a specific virtual circuit (VC). While these instructions
assume that the policy is intended for a specific VC, it can later be used with other VCs.
Before you begin
Some of the following steps require understanding that is not included in the instructions. You should consult the
following, where needed:
Configuring a policy to accelerate traffic
Configuring a policy to discard (block) traffic
Configuring a policy to redirect HTTP traffic to an HTTP Response webpage
Configuring a policy to redirect HTTP traffic to a URL
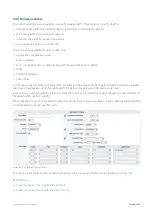
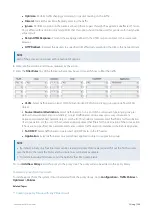
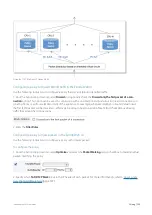
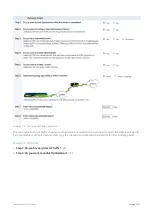
To create the policy
1.
Go to
Configuration > Optimizer
. The right side of the screen refreshes.
NOTE
You can create a policy on either the Optimizer or Policies tab. If you create the policy on the Optimizer tab, the
policy must first be associated with a specific virtual circuit. The policy can be associated with other virtual circuits
later. If you create the policy on the Policies tab, it is then available for use with any of the virtual circuits.
2.
If not already open, select the
Optimizer
tab
3.
Click the
Create New Policy
link adjacent to the virtual circuit that requires the new policy. The page refreshes to
show the new policy configuration options.
4.
In the
Policy Name
field, type a suitable name for the policy.
5.
If necessary, edit the pre-populated policy number in the
VC Policy Number
field.
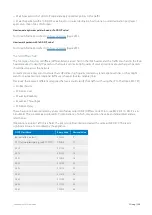
NOTE
The policy number determines the order in which the policy is enacted in the policy tree; lower numbers receive
higher priority, so highly specific policies should receive lower numbers and more general policies should receive
higher numbers.
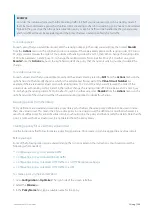
6.
Optionally, specify a
Schedule
.
NOTE
The default is "ALWAYS". Schedules that have been defined will appear in the drop-down list. If necessary, you can
create schedules by going to
Configuration > Objects > Schedules
.
7.
Specify the
Action
.
Summary of Contents for EXNV-10063
Page 369: ...Exinda Network Orchestrator 4 Settings 369 ...
Page 411: ...Exinda Network Orchestrator 4 Settings 411 Screenshot 168 P2P OverflowVirtualCircuit ...
Page 420: ...Exinda Network Orchestrator 4 Settings 420 Screenshot 175 Students OverflowVirtualCircuit ...


