Exinda Network Orchestrator
2 Getting started
|
117
3.
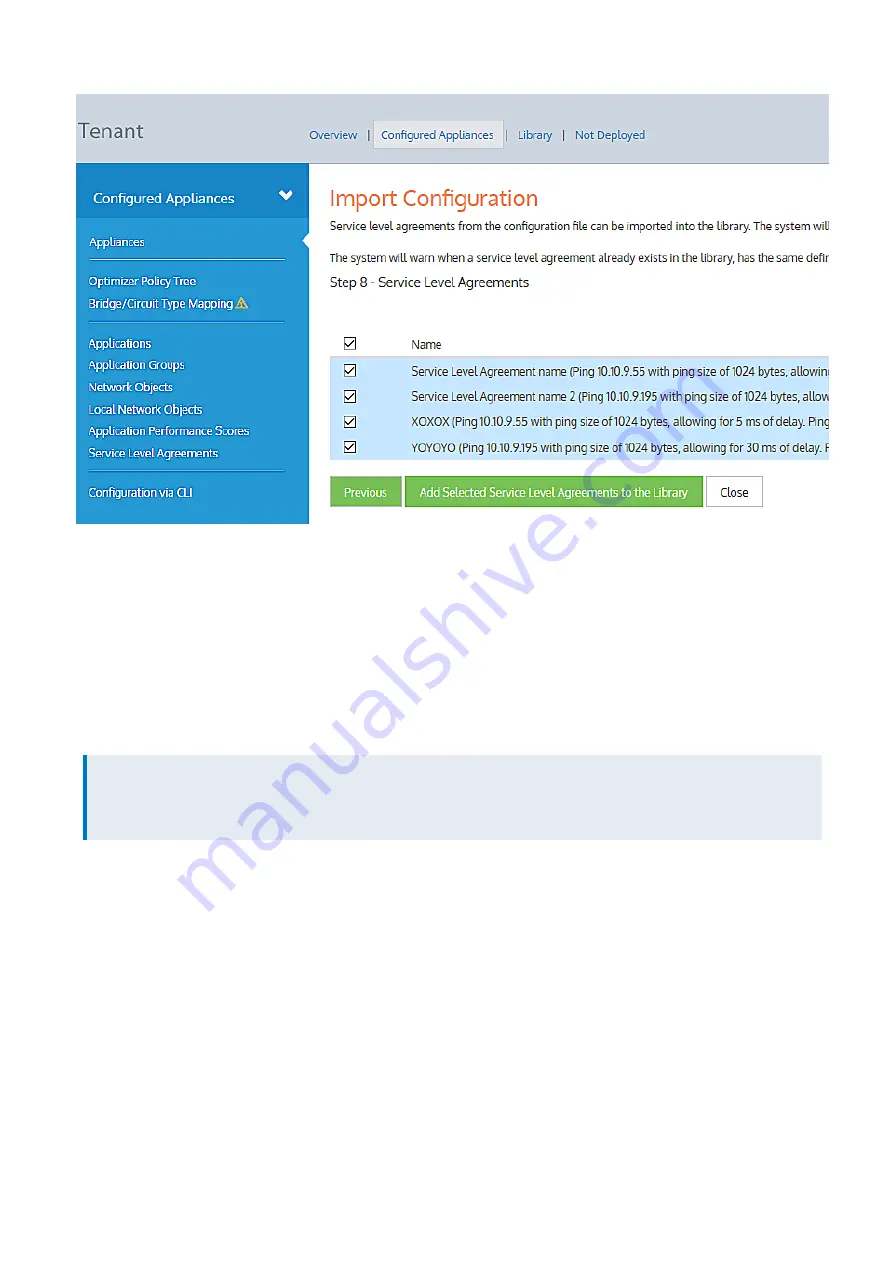
Click
Add Selected Service Level Agreements to Library
.
4.
Click
Close
.
For each of these classes, you can select from the configuration items that exist, or you can skip to the next class. The
process of importing each of the configuration classes is the same.
3.
In the wizard. click the
Import <configuration class>
button. For the configuration class, if there are existing con-
figuration items, they appear in a grid
4.
If configuration items do not exist in the tenant library, select their check-boxes and click
Add Selected <con-
figuration items> to the Library
.
NOTE
If configuration items already exist in the tenant library, a green check mark appears before the configuration item
name. You cannot use the same configuration item again.
4.
Click
Next
to move on to the next configuration class.
5.
Repeat steps 3 and 4 for each configuration class.
6.
At the end of the wizard, click
Close
.
2.6.7 Configuring an appliance manually
If your appliance is new and requires configuration, you can follow the steps below after the
Step 1: Configure the local network object for each appliance
The system uses the local network object to determine the location of all other network objects. The location of network
objects is used to determine whether hosts and users are internal or external to the LAN behind your Network
Orchestrator appliance. In the Configured Appliances area, select Local Network Objects in the menu. Click the appliance
Summary of Contents for EXNV-10063
Page 369: ...Exinda Network Orchestrator 4 Settings 369 ...
Page 411: ...Exinda Network Orchestrator 4 Settings 411 Screenshot 168 P2P OverflowVirtualCircuit ...
Page 420: ...Exinda Network Orchestrator 4 Settings 420 Screenshot 175 Students OverflowVirtualCircuit ...

