Exinda Network Orchestrator
2 Getting started
|
104
12.
Apply the following commands. The output contains the IP address you need to access the appliance web user inter-
face.
exinda> en
exinda># show int eth0
13.
Connect through HTTPS to the Exinda appliance using a browser.
14.
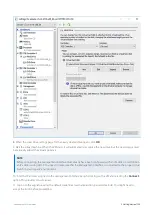
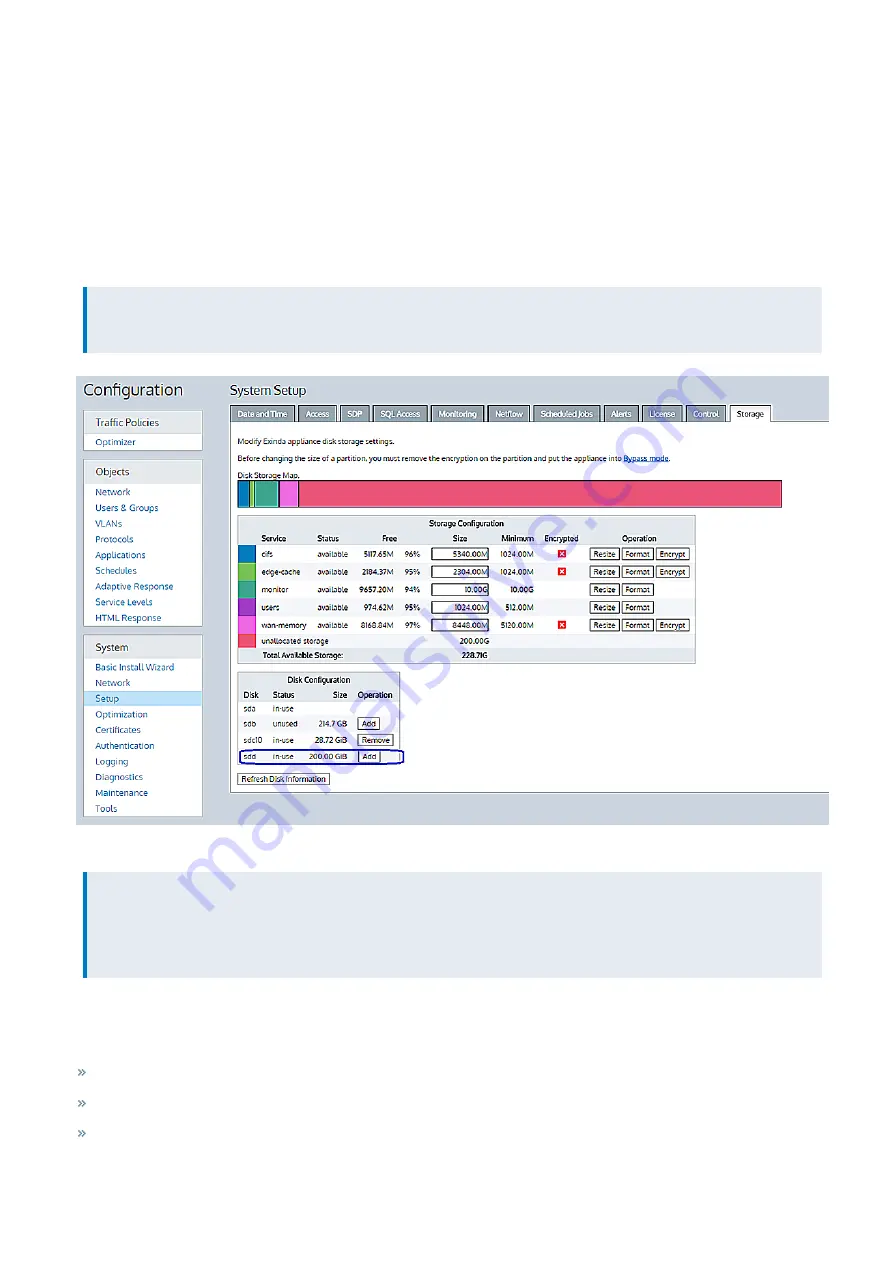
Once logged on, click
Configuration > System > Setup > Storage
.
15.
Add the new drive.
NOTE
The following screenshot assumes that the chosen controller was
1
, and the location was
0
, so the new drive is
sdd
.
The new space appears as “unallocated storage” inside the “Storage Configuration” section.
NOTE
Exinda recommends that you resize the “monitor” partition to at least 100GB. If you are licensed for acceleration, you
should allocate most of the remaining storage in "wan memory" partition (cache partition for all TCP protocols), but if
you are accelerating CIFS/SMB protocols, allow some storage in the "cifs" partition.
16.
Allocate the storage as appropriate.
Related Topics
Adjusting the number of CPUs available to the Virtual Machine
Summary of Contents for EXNV-10063
Page 369: ...Exinda Network Orchestrator 4 Settings 369 ...
Page 411: ...Exinda Network Orchestrator 4 Settings 411 Screenshot 168 P2P OverflowVirtualCircuit ...
Page 420: ...Exinda Network Orchestrator 4 Settings 420 Screenshot 175 Students OverflowVirtualCircuit ...

