


Exinda Network Orchestrator
2 Getting started
|
67
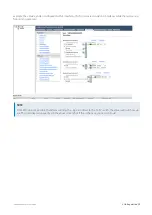
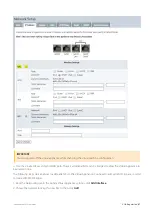
3.
In the list of Hardware configuration options, select
Networking
.
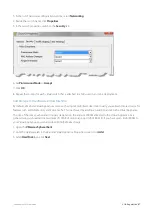
4.
Beside the switch name, click
Properties
.
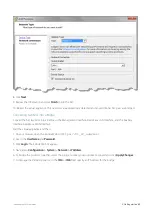
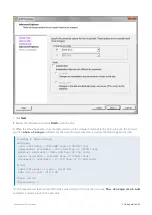
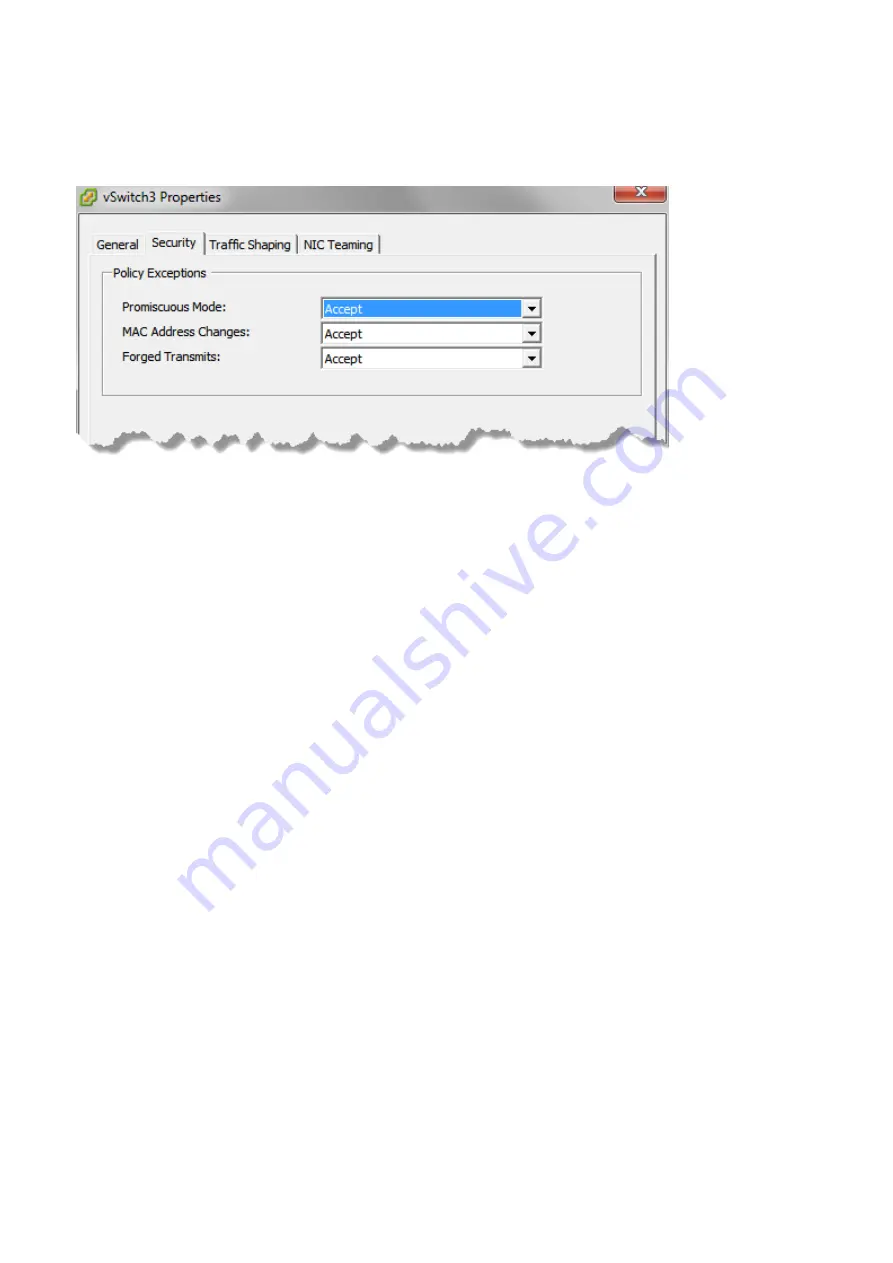
5.
In the switch properties, switch to the
Security
tab.
6.
Set
Promiscuous Mode
to
Accept
.
7.
Click
OK
.
8.
Repeat these steps for each virtual switch that is attached to a NIC used in an inline deployment.
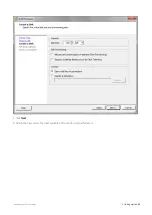
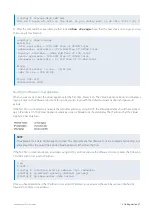
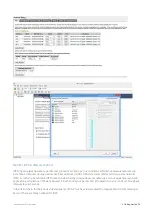
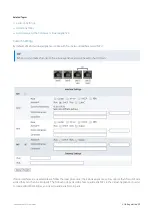
Add Storage to the VMware Virtual Machine
By default, all Exinda Virtual Appliances come with a single 50GB (fixed-size) disk. Usually, you will want more storage for
features such as WAN Memory and Edge Cache. This is achieved by adding an additional disk to the Virtual Appliance.
The size of the disk you should add largely depends on the amount of RAM allocated to the Virtual Appliance. As a
general rule, you should add a maximum of 100GB of disk storage per 1GB of RAM. So if you have given 4GB of RAM to
your Virtual Appliance, you can add up to 400GB of extra storage.
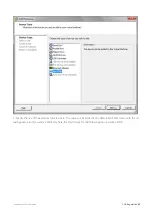
1.
Open the
VMware vSphere Client
.
2.
From the Hardware tab in the Exinda Virtual Appliance Properties screen, click
Add
.
3.
Select
Hard Disk
, then click
Next
.
Summary of Contents for EXNV-10063
Page 369: ...Exinda Network Orchestrator 4 Settings 369 ...
Page 411: ...Exinda Network Orchestrator 4 Settings 411 Screenshot 168 P2P OverflowVirtualCircuit ...
Page 420: ...Exinda Network Orchestrator 4 Settings 420 Screenshot 175 Students OverflowVirtualCircuit ...


