


GS Screen Actions
Graphical Status Screens/Floor Plans • 89
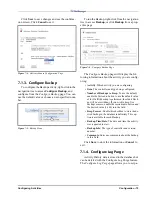
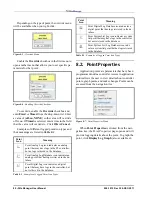
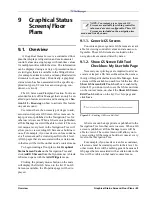
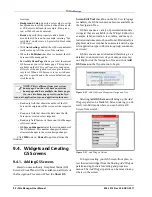
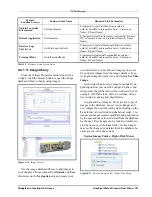
Name the GS Screen to save:
Enter a name for the GS Screen and click OK.
Once you have saved the GS Screen, the save icon
will disappear. The save icon is at the top right of your
screen.
Publishing/Exporting GS Screens
To publish the screen to a location on the Naviga-
tion tree, click Export from the drop-down menu. If
you choose to Export first, the Save window will pop
up to remind you to Save first.
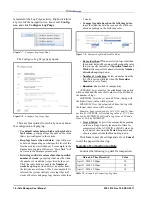
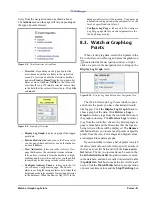
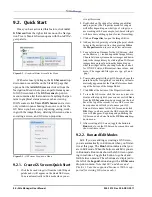
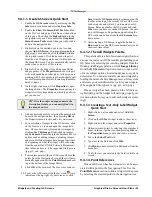
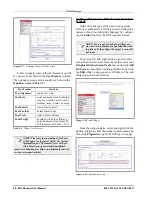
9.3.3. Delete the GS
To remove a GS Screen from the system, (with se-
lect user privileges) click Delete from the GS Screens
drop-down menu.
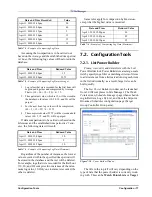
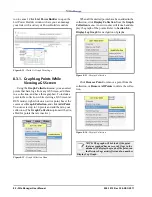
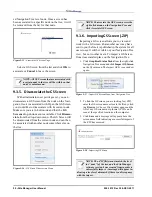
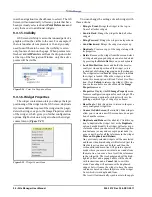
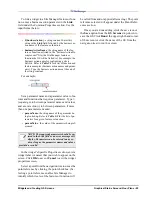
A pop up message will ask if you want to continue
and delete the floor plan from the system permanent-
ly. Click OK to delete. Click Cancel to stop. If delet-
ed, a confirmation message will appear to let you
know that the GS Screen has been deleted from the
system.
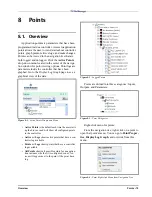
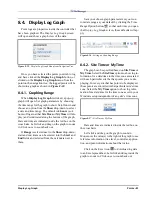
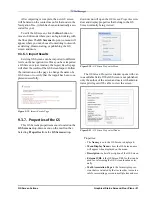
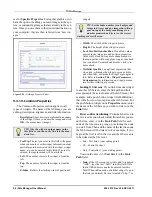
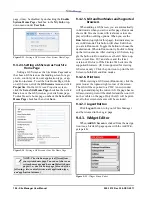
9.3.4. Associating the GS Screen
GS Screens can be associated with more than one
node or position on the Navigation tree. To associate
a GS Screen to a particular node or position on the
Navigation Tree, click Associate GS Screen from the
Navigation Tree menu and a list of GS Screens (in
.ZIP format) at the user-specified location will dis-
play.
The list is restricted to display only the appropriate
level GS Screens. Only the GS Screens that have been
published or GS Screens that were created by the
logged-in user are included in the list. If no screens
are listed, no screens have been created for the select-
Figure 9-11 - Name GS Screen to Save
Figure 9-12 - Delete GS Screen Menu
Figure 9-13 - GS Screen Confirmation Message Window
Figure 9-14 - Associate GS Screen Menu from Navigation Tree
Summary of Contents for Site Manager
Page 1: ...026 1012 Rev 3 06 DEC 2011 Site Manager User Manual ...
Page 2: ......
Page 4: ......
Page 124: ......
Page 129: ......