102 • Site Manager User Manual
026-1012 Rev 3 06-DEC-2011
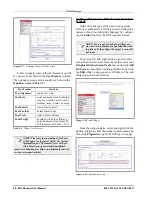
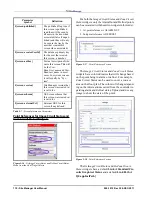
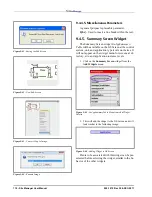
• Click Open (Enter) to open the system image in a
separate window.
• Click Download to save the system image to a loca-
tion on your drive, or open the image in a separate
window.
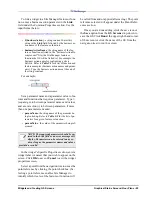
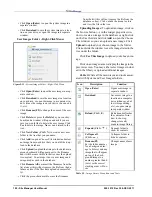
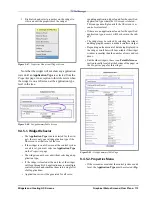
User Images Folder - Right-Click Menu:
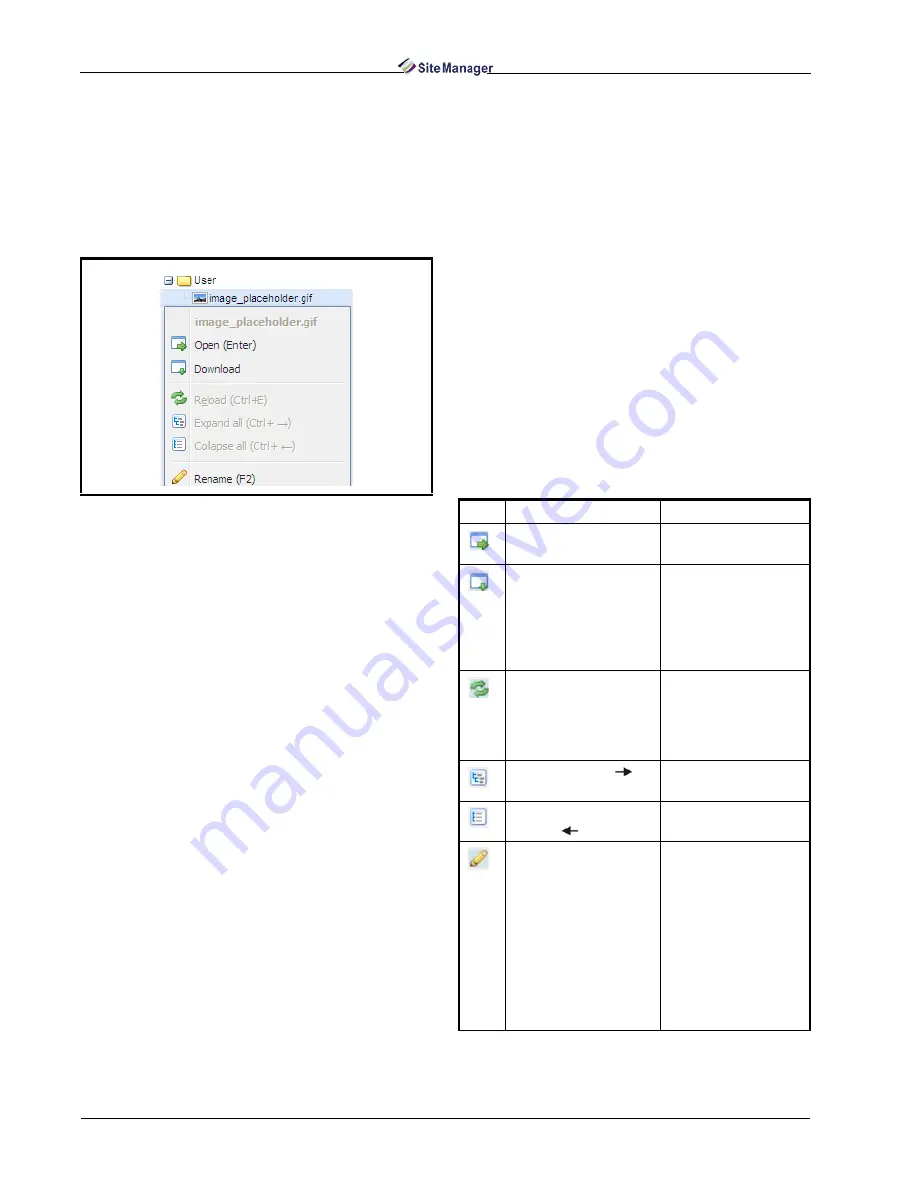
• Click Open (Enter) to open the user image in a sep-
arate window.
• Click Download to save the user image to a location
on your drive, or open the image in a separate win-
dow. (Once the image is on your drive you can edit
it, etc).
• Click Rename (F2) to change the name of the user
image.
• Click Delete (or press the Delete key on your key-
board) and a window will open and ask if you are
sure you would like to delete the user image. Click
Yes to delete the image, No save and return to the
tree.
• Click New Folder (Ctrl + N) to create a new user
folder in the tree that you can name.
• Click Add to open a Choose File window and select
an image from your drive that you would like to up-
load to the database.
• Click Upload to upload that image to the database (a
green checkmark will appear next to the filename
and it will become visible in the tree once the upload
is complete). Your image is now a user image and
categorized as such in the database.
• Click Remove All to erase all the filenames from the
list at once (this will not remove the file from the da-
tabase or tree if the files have uploaded successful-
ly).
• Click the green checkmark to erase the filename
from the list (this will not remove the file from the
database or tree). Click outside the menu to close
and view the file in the tree.
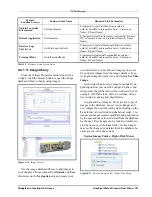
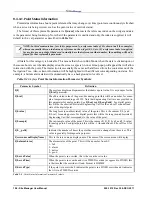
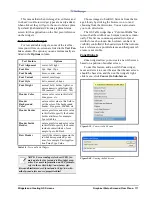
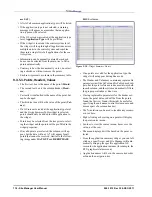
Uploading Images: To upload an image, click on
the browse button (...) in the widget properties win-
dow to locate an image in the database or right-click
on the User folder and click Add to open the Choose
File window so you can upload a new image. Click
Upload to upload your chosen image to the folder.
Click outside the window to see the image listed in the
tree under the folder.
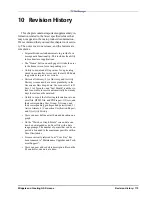
Click Use This Image to upload your chosen im-
age.
Click on an image name to display the image in the
preview screen. You may either select images includ-
ed in the library or upload additional images.
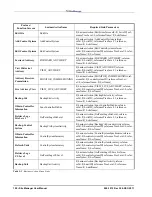
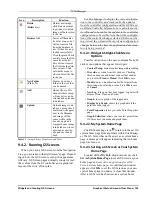
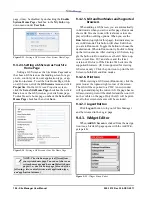
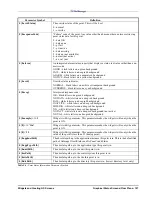
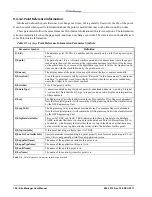
Table 9-3 lists all the menu icons and tools associ-
ated with System and User Images folders.
Figure 9-32 - System Images Folder - Right-Click Menu
Icon
Description
Function
Open (Enter)
Opens user image in
separate window
Download
Saves user image to a
location on computer
drive (when saved al-
lows image editing,
etc), or opens image
in separate window
Reload (Ctrl + E)
Reloads and refreshes
the contents of win-
dow to show up
changes recently
made to image library
Expand (Ctrl +
)
Expands folder to
show its contents
Collapse all
(Ctrl +
)
Collapses folder to
hide its contents
Rename(F2)
Set the Index number
for a background im-
age to 0 (zero) and any
image that will appear
on top of the back-
ground image to a
number greater than 0
(zero) so the correct
stacking order will oc-
cur.
Changes name of user
image
Table 9-3 - Image Library Menu Icons and Tools
Summary of Contents for Site Manager
Page 1: ...026 1012 Rev 3 06 DEC 2011 Site Manager User Manual ...
Page 2: ......
Page 4: ......
Page 124: ......
Page 129: ......


