Historical Advisory View
Advisories • 73
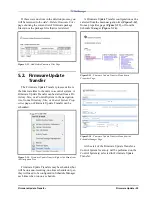
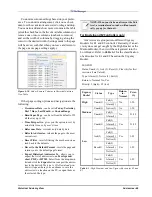
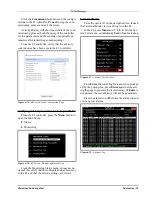
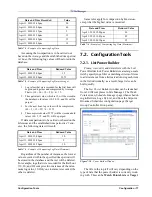
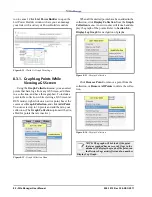
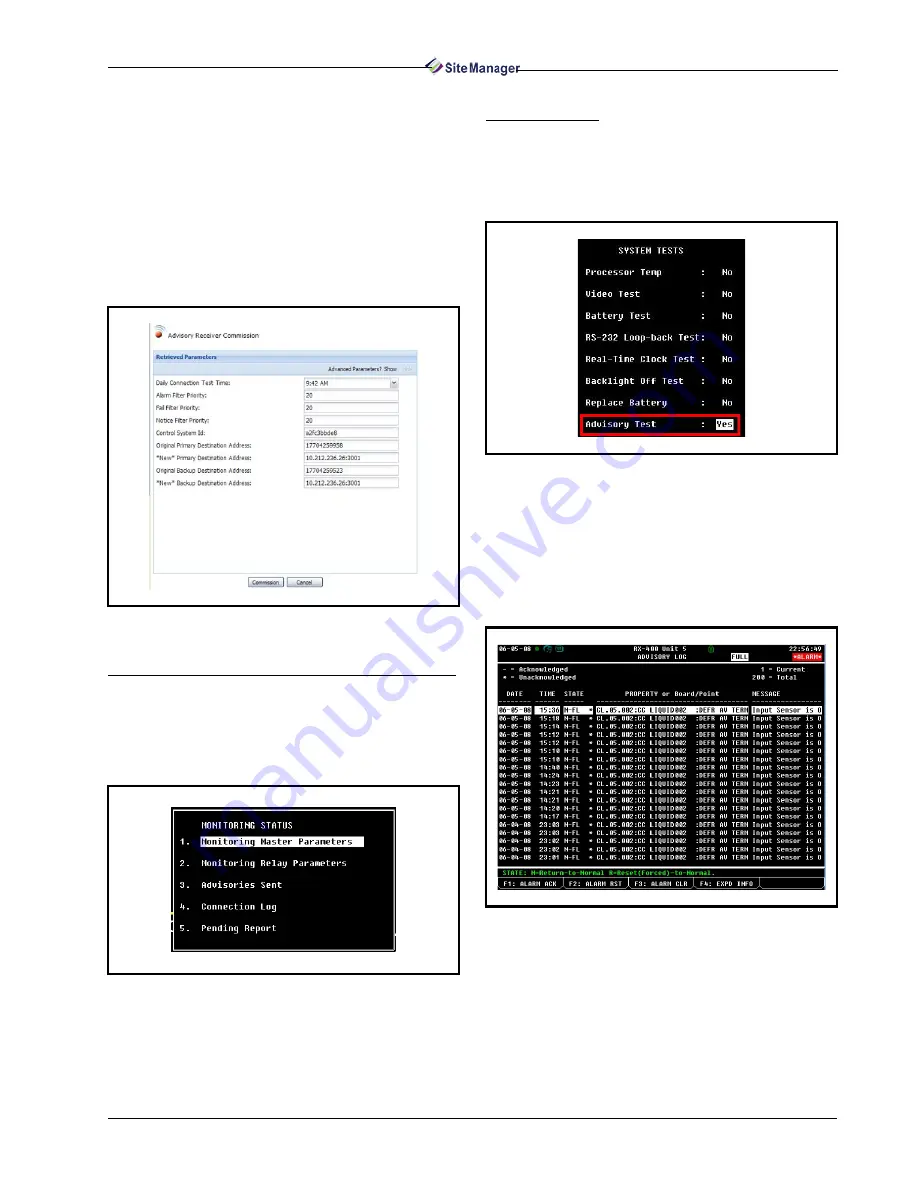
Click the Commission button to send the configu-
rations to the E2 controller, Cancel to stop the com-
missioning process and exit the screen.
Activity History will show the details of the com-
missioning process (both the query of the controller
for the parameters and the sending of applicable pa-
rameters after initializing commissioning).
From the E2 controller, verify that the advisory
commissions have been sent to the E2 controller:
Verifying Advisory Commission Setup in the E2
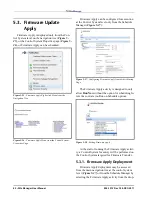
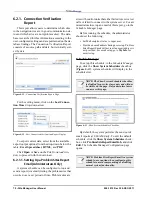
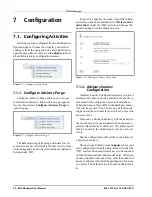
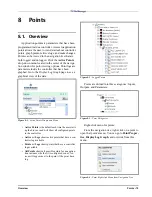
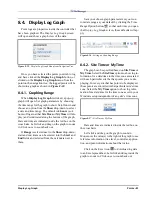
From the E2 controller, press the Menu button to
open the Main Menu:
8. Status
6. Monitoring
From the Monitoring Status menu, choose menu
items 1-5 to verify that the configuration has been sent
to the E2 and that the various settings are correct.
Terminal Mode
From the unit level on the navigation tree, launch
the Terminal Mode viewer and log in to the E2.
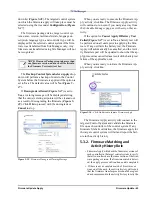
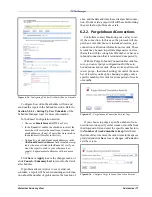
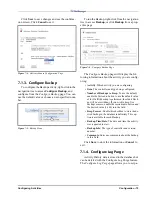
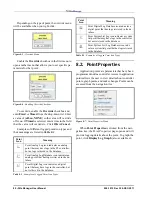
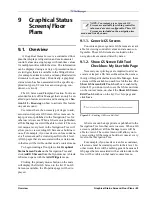
In the E2, press Menu and 7, 3, 5, 4. On the Sys-
tem Tests menu, set Advisory Test to Yes for testing.
Press Enter after selecting Yes, and when prompt-
ed by the pop-up box, press Enter again before exit-
ing the page to generate the test advisory. (If Enter is
not pressed, the test advisory will not be generated.)
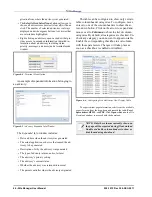
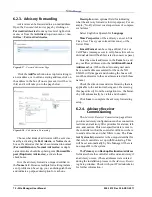
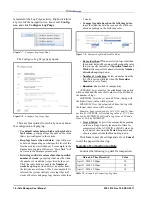
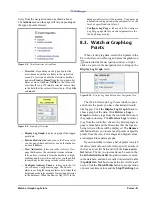
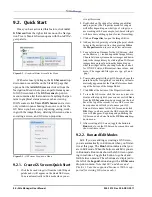
Press the alarm icon (F7) to see the alarm log and
view any test alarms.
Figure 6-19 - Advisory Receiver Commission Page
Figure 6-20 - E2 Screen - Monitoring Status Screen
Figure 6-21 - Advisory Test Set to Yes
Figure 6-22 - Advisory Log
Summary of Contents for Site Manager
Page 1: ...026 1012 Rev 3 06 DEC 2011 Site Manager User Manual ...
Page 2: ......
Page 4: ......
Page 124: ......
Page 129: ......

