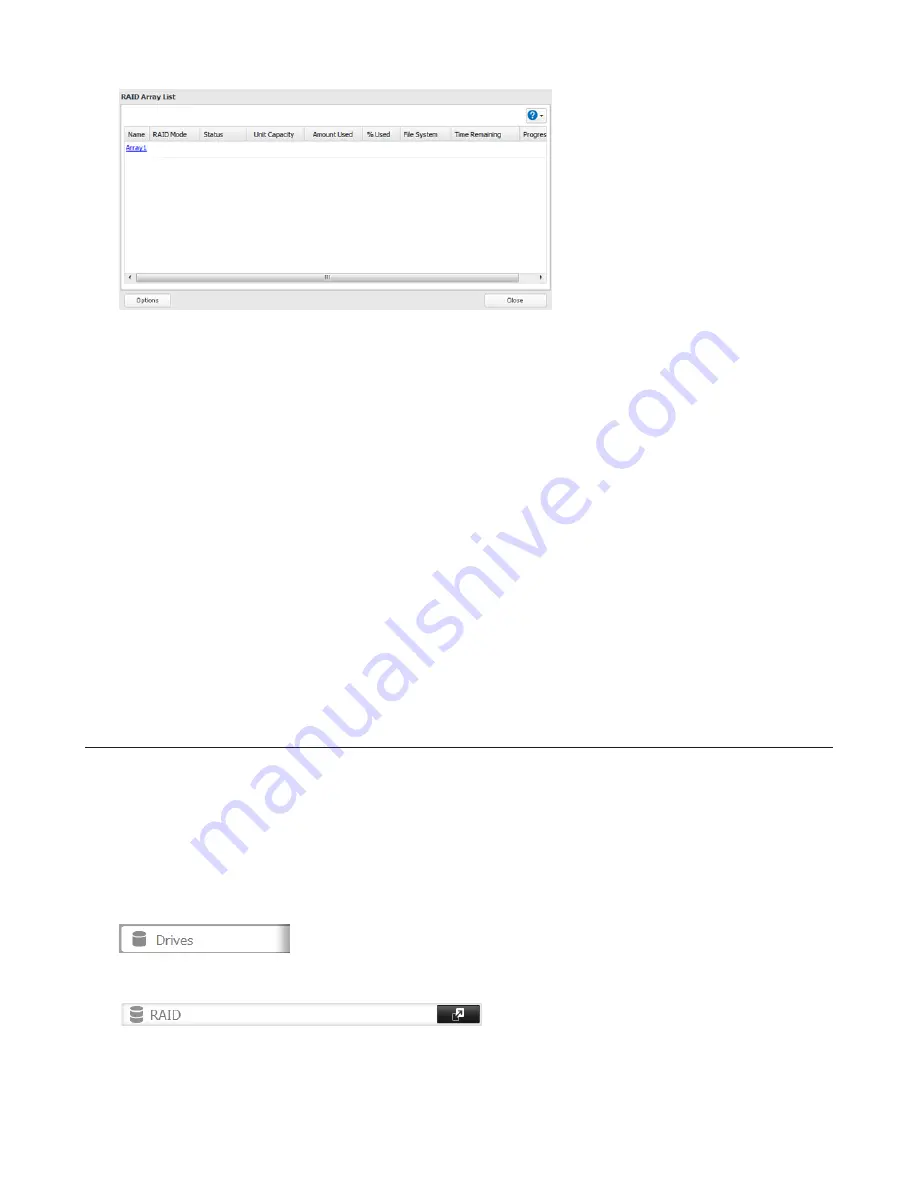
42
4
Click
Set as a hot spare
.
5
Step through the wizard.
6
When the “Confirm Operation” screen opens, enter the confirmation number and click
OK
.
Notes:
• To turn the hot spare back into a normal disk, choose
Set as a normal disk
.
• If a drive fails in the RAID array before it is rebooted, the hot spare will not automatically replace the failed drive.
In this case, follow the steps below to repair the array.
(1) In Settings, navigate to
Drives
-
Drives
.
(2) Select the drive that was configured as a hot spare, then click
Dismount Disk
.
(3) Click
Rediscover Disk
.
(4) Navigate to
Drives
-
RAID
.
(5) Select the RAID array to repair.
(6) Select the drive that was previously configured as a hot spare, then click “Recover RAID Array”.
This will rebuild the RAID array.
RMM (RAID Mode Manager)
With RMM, you can create or expand a RAID array without erasing the data on the drives.
Changing from JBOD to RAID 1
Hard drives that aren’t in a RAID array show “Normal (RMM available)”. You must have at least two drives available in
JBOD (not in a RAID array) to build the RAID 1 array with RMM.
1
Click
Drives
.
2
Click
RAID
.
3
Choose a RAID array.
Summary of Contents for TeraStation 5000
Page 1: ...TeraStation 5000 User Manual www buffalotech com 35020018 04 2014 01...
Page 10: ...10 Chapter 1 Installation Diagrams TS5800D TS5600D TS5400D...
Page 69: ...69 4 Insert the new drive in the empty slot Slide the drive in with the locking mechanism open...
Page 70: ...70 5 Swing the lock back down until it clicks into place...


