Chapter 9
301
Setting/Using Control and Management Functions
Setting/Checking the Internal Clock
9.
Se
ttin
g/Us
in
g Co
ntr
ol and
Man
age
men
t F
unc
tions
Setting/Checking the Internal Clock
The Agilent 4294A has a built-in clock that maintains the current date and time. This
internal clock is used for time stamps when outputting to a printer (printing the date and
time), for recording the date and time when saving internal data or HP Instrument BASIC
programs to a file, and for other functions requiring date/time recording. Follow these steps
to set/check the internal clock’s date, date display format, and time.
Setting/Checking the Date
Step 1.
Press the
[System]
key to display the System menu.
Step 2.
Press the
CLOCK
key to display the Internal Clock menu.
Step 3.
Press the
DATE MODE [ ]
key to select the date mode, which determines the date’s display
format (pressing the key toggles your selection).
NOTE
The date display format specified here is not applied to the dates in the file list displayed on
the HP Instrument BASIC screen when the CAT command is executed.
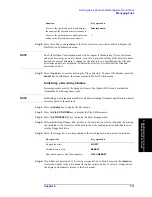
Step 4.
Press the
DATE
key to display the Date Configuration menu.
Step 5.
Press the
MONTH
key. In the set parameter value field in the upper left area of the screen, a
number indicating the currently set month is displayed. Below it, the currently set date
(year, month, and day) is displayed in a smaller size with the date mode set in Step 3.
NOTE
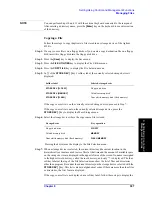
When you press the
DATE
key in Step 4, the same display appears in the set parameter
value field as when the
MONTH
key is pressed. Therefore, you do not actually need to
press the
MONTH
key here. You use the
MONTH
key when you want to change the
“month” setting after executing Steps 7 through 10.
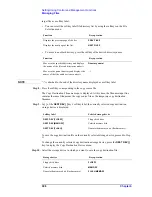
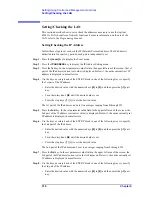
Step 6.
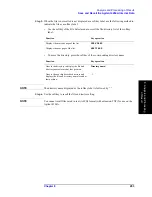
Use the keys or rotary knob of the ENTRY block in one of the following ways to specify
the “month.”
•
Enter the desired value with the numeric keys (
[0]
to
[9]
) and then press the
[
´
1]
unit
key.
•
Turn the rotary knob (
m
m
m
m
) until the desired value is set.
•
Press the step keys ([
][
¯
]) to set the desired value.
“Month” can be set by an integer ranging from 1 through 12.
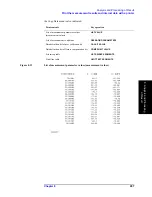
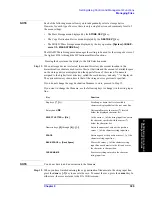
Softkey label
Date mode
DATE MODE [MM/DD/YY]
Selects “2-digit number for month/2-digit
number for day/4-digit number for year” as the
date display format.
DATE MODE [DD/MM/YY]
Selects “2-digit number for day/2-digit number
for month/4-digit number for year” as the date
display format.
Summary of Contents for 4294A
Page 1: ......
Page 2: ......
Page 4: ......
Page 5: ......
Page 6: ......
Page 8: ......
Page 16: ...8 ...
Page 30: ...22 Chapter1 Installation Power Cable Figure 1 2 Alternative Power Cable Options ...
Page 70: ...62 Chapter3 Front Rear Panel and LCD Display Items Displayed on the LCD ...
Page 436: ...428 AppendixB Key Definitions Softkeys displayed by pressing the Recall key ...
Page 454: ...446 AppendixC Error messages WRONG I O PORT DIRECTION ...
Page 468: ......


