9
INSTALLING THE PRINTER DRIVER / PC-FAX DRIVER
1
Insert the "Software CD-ROM" into your
computer's CD-ROM drive.
• If you are installing the printer driver, insert the
"Software CD-ROM" that shows "Disc 1" on the front of
the CD-ROM.
• If you are installing the PC-Fax driver, insert the
"Software CD-ROM" that shows "Disc 2" on the front of
the CD-ROM.
2
Click the [start] button, click [My
Computer] (
), and then double-click
the [CD-ROM] icon (
).
In Windows 98/Me/NT 4.0/2000, double-click [My
Computer] and then double-click the [CD-ROM] icon.
3
Double-click the [Setup] icon (
).
4
The "SOFTWARE LICENSE" window
will appear. Make sure that you
understand the contents of the license
agreement and then click the [Yes]
button.
5
Read the message in the "Welcome"
window and then click the [Next]
button.
6
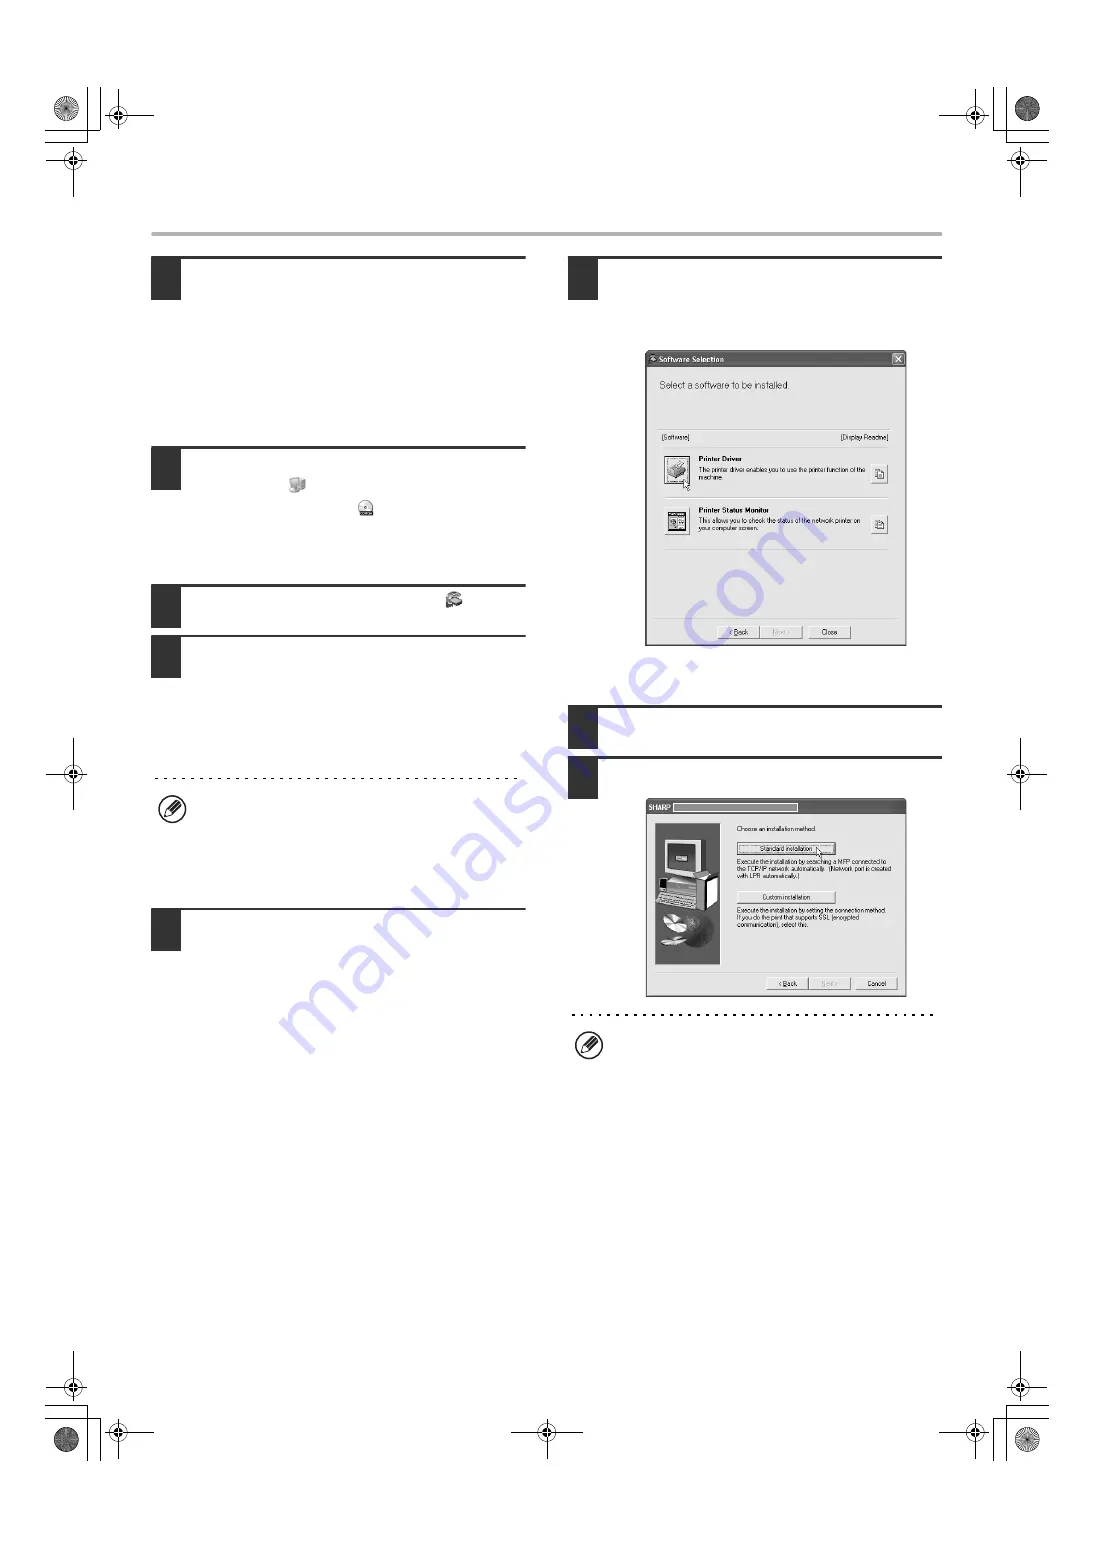
Click the [Printer Driver] button.
• To install the PC-Fax driver, click the [PC-Fax Driver] button.
• To view information on the software, click the [Display
Readme] button.
* The above screen appears when the printer
driver is being installed.
7
Click the [Next] button.
8
Click the [Standard installation] button.
You can show the "SOFTWARE LICENSE" in a
different language by selecting the desired language
from the language menu. To install the software in the
selected language, continue the installation with that
language selected.
When [Custom installation] is selected, you can change
any of the items below. When [Standard installation] is
selected, the installation will take place as indicated below.
• Machine connection method: LPR Direct Print
• Set as default printer: Yes (excluding the PC-Fax
driver)
• Printer driver name: Cannot be changed
• PCL printer display fonts: Installed
If you selected [Custom installation], select [LPR
Direct Print] and click the [Next] button.
If you selected other than [LPR Direct Print], see the
following pages:
• IPP: page 12 • Shared printer: page 20
• Connected to this computer: page 15
!mx4500_us_ins.book 9 ページ 2005年10月31日 月曜日 午前11時57分
Содержание MX 3501N - Color Laser - Copier
Страница 1: ...User s Guide MX 3500N MX 3501N MX 4500N MX 4501N MX 2300N MX 2700N MODEL ...
Страница 2: ...System Settings Guide MX 3500N MX 3501N MX 4500N MX 4501N MX 2300N MX 2700N MODEL ...
Страница 127: ...MX4500 US SYS Z2 System Settings Guide MX 3500N MX 3501N MX 4500N MX 4501N MX 2300N MX 2700N MODEL ...
Страница 173: ... mx4500_us_ins book 44 ページ 2005年10月31日 月曜日 午前11時57分 ...
Страница 174: ... mx4500_us_ins book 45 ページ 2005年10月31日 月曜日 午前11時57分 ...
Страница 176: ...Document Filing Guide MX 3500N MX 3501N MX 4500N MX 4501N MX 2300N MX 2700N MODEL ...
Страница 222: ...MX4500 US FIL Z1 Document Filing Guide MX 3500N MX 3501N MX 4500N MX 4501N MX 2300N MX 2700N MODEL ...
Страница 223: ...Scanner Guide MX 3500N MX 3501N MX 4500N MX 4501N MX 2300N MX 2700N MODEL ...
Страница 354: ...MX4500 US SCN Z2 Scanner Guide MX 3500N MX 3501N MX 4500N MX 4501N MX 2300N MX 2700N MODEL ...
Страница 355: ...Printer Guide MX 3500N MX 3501N MX 4500N MX 4501N MX 2300N MX 2700N MODEL ...
Страница 370: ...15 2 Select 2 sided printing 1 Select 2 Sided Book or 2 Sided Tablet 2 Click the OK button 3 Start printing 2 1 ...
Страница 415: ...MX4500 US PRT Z2 Printer Guide MX 3500N MX 3501N MX 4500N MX 4501N MX 2300N MX 2700N MODEL ...
Страница 416: ...Facsimile Guide MX FXX1 MODEL ...
Страница 605: ...MX FXX1 MODEL MX4500 US FAX Z2 Facsimile Guide ...
Страница 606: ...Copier Guide MX 3500N MX 3501N MX 4500N MX 4501N MX 2300N MX 2700N MODEL ...
Страница 775: ...MX4500 US CPY Z1 Copier Guide MX 3500N MX 3501N MX 4500N MX 4501N MX 2300N MX 2700N MODEL ...
Страница 843: ...MX4500 US USR Z1 User s Guide MX 3500N MX 3501N MX 4500N MX 4501N MX 2300N MX 2700N MODEL ...


