105
Must Input Next Address Key at
Broadcast Setting
This setting is used to require that the [Next Address]
key be touched before the next address is entered when
performing a broadcast transmission.
When this setting is enabled, the [Next Address] key
cannot be omitted even if the next address is entered
with a one-touch key.
If a user attempts to enter the next address without
touching the [Next Address] key, a double-beep alarm
will sound and the entry will be rejected.
To enable this setting, select the checkbox
and
touch the [OK] key.
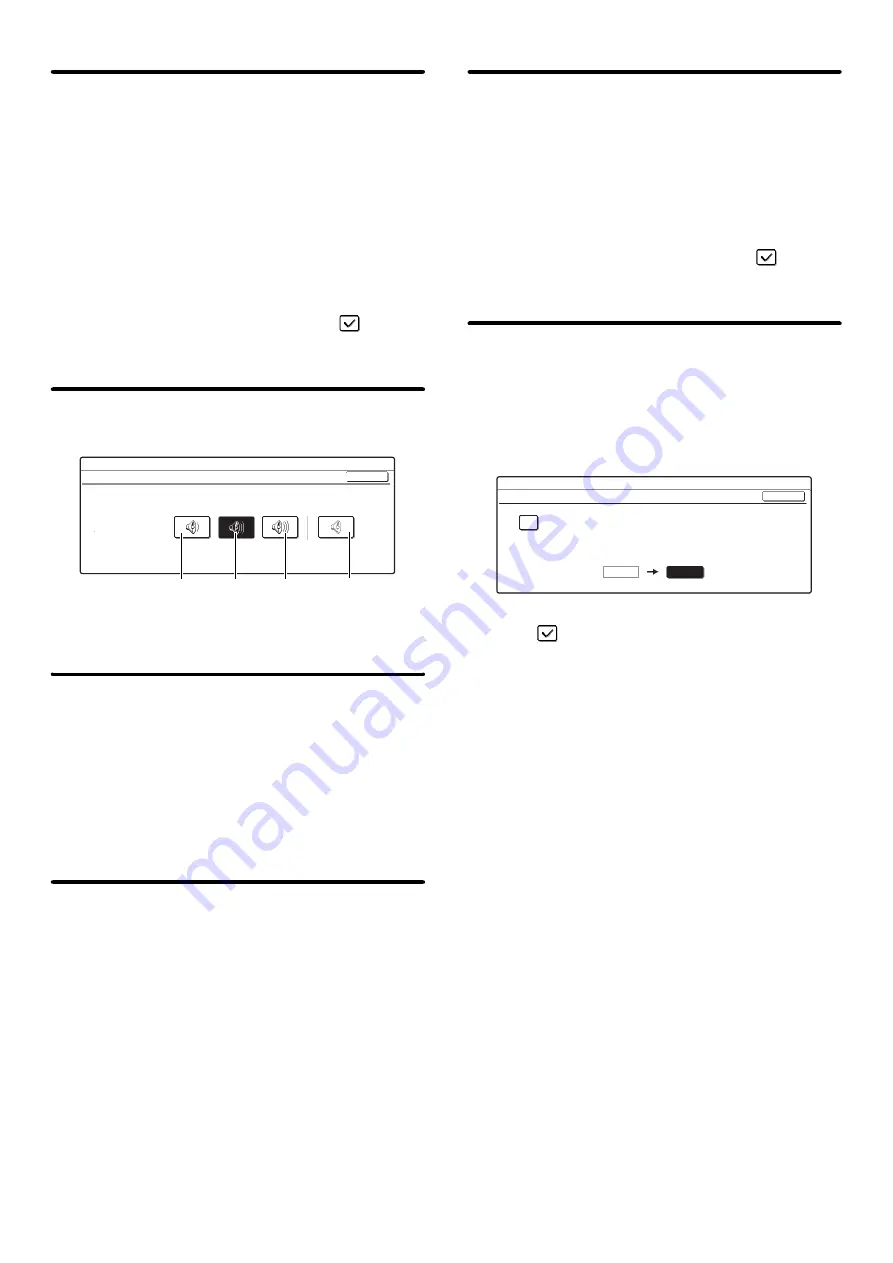
Scan Complete Sound Setting
The scan complete sound can be selected.
Select one of the keys and touch the [OK] key.
The Number of File
Name/Subject/Body Keys
Displayed Setting
This setting is used to select the number of file name /
subject keys that are displayed in the screen. The
number of keys can be set to 3 or 6.
Select one of the keys and touch the [OK] key.
The Number of Direct Address
Keys Displayed Setting
This setting is used to select the number of one-touch
keys that are displayed in the Address Book screen. The
number of keys can be set to 6 or 9.
Select one of the keys and touch the [OK] key.
Disable Switching of Display Order
This is used to prohibit changes to the order of display
(order search number, ascending, descending) in the
Address Book.
When this setting is enabled, touching a tab in the
Address Book screen does not change the order. The
currently selected display order will be the order that is
used after the setting is selected.
To enable this setting, select the checkbox
and
touch the [OK] key.
Hold Setting for Received Data
Print
This function holds received faxes and Internet faxes in
memory without printing them. The faxes can be printed
by entering a password (factory default setting: 0000)
with the numeric keys.
To enable this setting, select the [Received Data Hold]
checkbox
, enter a password with the numeric keys
when you wish to change the password, and touch the
[OK] key.
System Settings
Scan Complete Sound Setting
Scan Complete Sound
OK
Volume:
Small
Volume:
Middle
Volume:
Big
No Sound
System Settings
Hold Setting for Received Data Print
Received Data Hold
Password Setting
Input a new password and press [OK].
0000
OK
Содержание MX 3501N - Color Laser - Copier
Страница 1: ...User s Guide MX 3500N MX 3501N MX 4500N MX 4501N MX 2300N MX 2700N MODEL ...
Страница 2: ...System Settings Guide MX 3500N MX 3501N MX 4500N MX 4501N MX 2300N MX 2700N MODEL ...
Страница 127: ...MX4500 US SYS Z2 System Settings Guide MX 3500N MX 3501N MX 4500N MX 4501N MX 2300N MX 2700N MODEL ...
Страница 173: ... mx4500_us_ins book 44 ページ 2005年10月31日 月曜日 午前11時57分 ...
Страница 174: ... mx4500_us_ins book 45 ページ 2005年10月31日 月曜日 午前11時57分 ...
Страница 176: ...Document Filing Guide MX 3500N MX 3501N MX 4500N MX 4501N MX 2300N MX 2700N MODEL ...
Страница 222: ...MX4500 US FIL Z1 Document Filing Guide MX 3500N MX 3501N MX 4500N MX 4501N MX 2300N MX 2700N MODEL ...
Страница 223: ...Scanner Guide MX 3500N MX 3501N MX 4500N MX 4501N MX 2300N MX 2700N MODEL ...
Страница 354: ...MX4500 US SCN Z2 Scanner Guide MX 3500N MX 3501N MX 4500N MX 4501N MX 2300N MX 2700N MODEL ...
Страница 355: ...Printer Guide MX 3500N MX 3501N MX 4500N MX 4501N MX 2300N MX 2700N MODEL ...
Страница 370: ...15 2 Select 2 sided printing 1 Select 2 Sided Book or 2 Sided Tablet 2 Click the OK button 3 Start printing 2 1 ...
Страница 415: ...MX4500 US PRT Z2 Printer Guide MX 3500N MX 3501N MX 4500N MX 4501N MX 2300N MX 2700N MODEL ...
Страница 416: ...Facsimile Guide MX FXX1 MODEL ...
Страница 605: ...MX FXX1 MODEL MX4500 US FAX Z2 Facsimile Guide ...
Страница 606: ...Copier Guide MX 3500N MX 3501N MX 4500N MX 4501N MX 2300N MX 2700N MODEL ...
Страница 775: ...MX4500 US CPY Z1 Copier Guide MX 3500N MX 3501N MX 4500N MX 4501N MX 2300N MX 2700N MODEL ...
Страница 843: ...MX4500 US USR Z1 User s Guide MX 3500N MX 3501N MX 4500N MX 4501N MX 2300N MX 2700N MODEL ...


