Password and Remote Access Security
Password and Remote Access Security
LASAIR II Operator’s Manual
LASAIR II Operator’s Manual
Page
Page
5-21
5-21
The password that is set at the
The password that is set at the instrument is specific to the instrument and is the
instrument is specific to the instrument and is the
same password that users must enter when accessing the LASAIR II from a web
same password that users must enter when accessing the LASAIR II from a web
browser, Facilit
browser, Facility Net, or Pharmaceutical Net.
y Net, or Pharmaceutical Net.
Remote access from a web browser or from a
Remote access from a web browser or from a facility management program
facility management program
such as Facility Net (or Pharmaceutical Net) ca
such as Facility Net (or Pharmaceutical Net) can be disabled at the
n be disabled at the instrument’
instrument’ss
Comm Setup Screen
Comm Setup Screen
..
To set and enable a password:
To set and enable a password:
1
1
From the Main Display Screen press the
From the Main Display Screen press the Main Setup Screen softkey. The
Main Setup Screen softkey. The
Main Setup Screen will open.
Main Setup Screen will open.
2
2
Press the Enter button to enable the
Press the Enter button to enable the Edit Mode.
Edit Mode.
3
3
Press the Tab softkey until you reach the Change Password button.
Press the Tab softkey until you reach the Change Password button.
4
4
Press the Enter key. The
Press the Enter key. The
Enter New Password
Enter New Password
dialog box will open.
dialog box will open.
5
5
Use the Up or Down arrow buttons and
Use the Up or Down arrow buttons and the softkeys to enter a password. The
the softkeys to enter a password. The
password may be
password may be 16 alphanumeric characters
16 alphanumeric characters including the underscore and
including the underscore and the
the
blank characters.
blank characters.
6
6
Use the Tab softkey to move to the OK button and then
Use the Tab softkey to move to the OK button and then press the Enter button
press the Enter button
to accept the
to accept the password. The V
password. The Verify New Password dialog
erify New Password dialog box will open.
box will open.
7
7
Re-enter the password, tab to the OK button and press the Enter button to acce
Re-enter the password, tab to the OK button and press the Enter button to accept
pt
the password. The
the password. The
Password Changed
Password Changed
dialog box will open.
dialog box will open.
8
8
Press the Enter button to complete the ac
Press the Enter button to complete the action for that password.
tion for that password.
9
9
If you are ready to enable password protection, navigate to the Ena
If you are ready to enable password protection, navigate to the Enable Password
ble Password
check box and then press the Enter button to insert a check mark.
check box and then press the Enter button to insert a check mark.
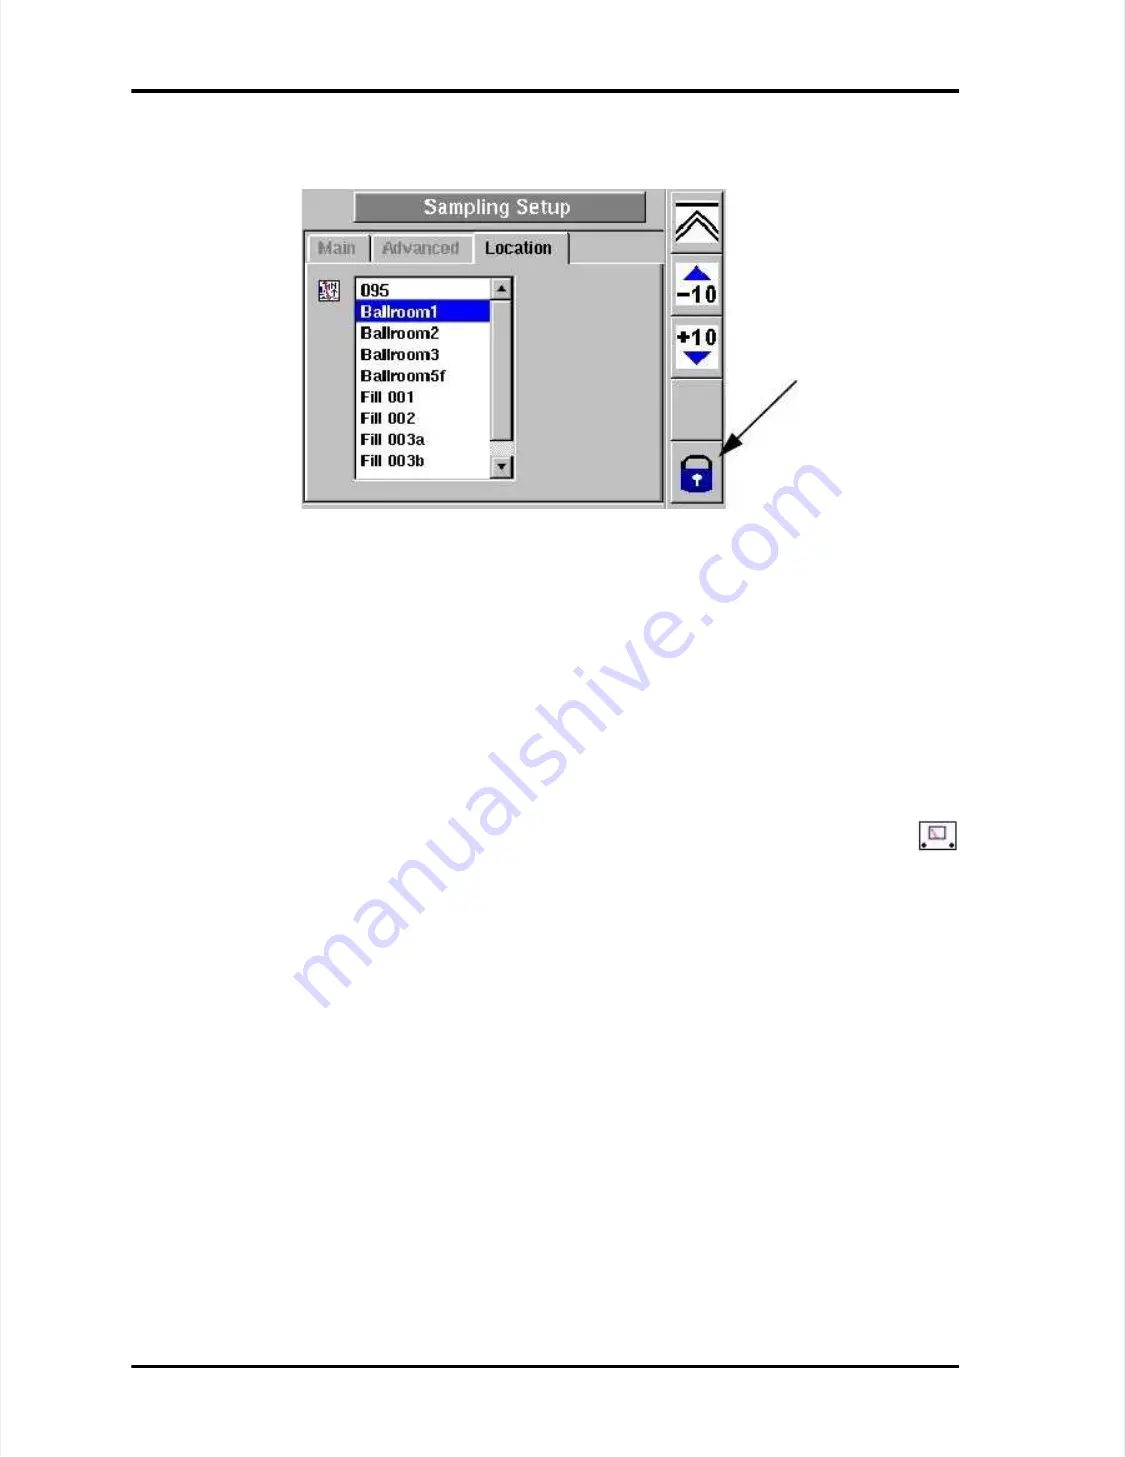
Figure 5-12: Sampling Setup with Password Active but not Entered
Figure 5-12: Sampling Setup with Password Active but not Entered
Indicates a password
Indicates a password
has been set
has been set


