Group 8
Job Editor
Page 335
JET3 Series
Release 2.02
The current display buffer will be printed with each PrintGo signal received unless you
have selected the
<Check Double Prints>
option.
With the
<Check Double Prints>
option activated you will receive an error message
when a PrintGo signal occurs before a new character string was received. So it is granted
that each character string is only printed once.
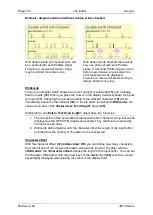
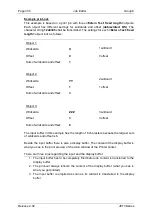
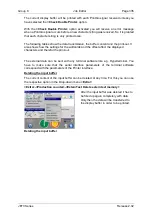
The following tables show the data transmission, the buffer content and the print-out. It
also shows how the settings for the wildcards and the offset affect the displayed
characters and therefor the print-out.
The external data can be sent with any terminal software like e.g. Hyperterminal. You
have to make sure that the serial interface parameters of the terminal software
correspond with the parameters of the Printer interface.
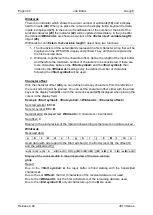
Deleting the input buffer
The current content of the input buffer can be deleted at any time. For this you can use
the respective option in the Drop-down menu
<Extra>:
<Extra>-<Production counter>-<ExternText Delete extern text memory>
After the input buffer was deleted it has to
be filled up again completely with data.
Only then the data will be transferred to
the display buffer in order to be printed.
Deleting the input buffer
Содержание JET3
Страница 1: ...Operating Manual V2 02 Please keep for future reference ...
Страница 2: ......
Страница 21: ...Group 2 Safety Page 19 JET3 Series Release 2 02 2 4 Safety sticker Figure 1 Safety sticker Safety sticker ...
Страница 380: ...Page 378 Appendix Connection Examples for the Interfaces Group 12 Release 2 02 JET3 Series Interface X3 Outputs ...
Страница 390: ...Page 388 Appendix List of illustrations Group 12 Release 2 02 JET3 Series 12 4 2 Print head SK 6 ...
Страница 391: ...Group 12 Appendix List of illustrations Page 389 JET3 Series Release 2 02 12 4 3 Print head SK 4 Option ...
Страница 392: ...Page 390 Appendix List of illustrations Group 12 Release 2 02 JET3 Series 12 4 4 Cabinet JET printer ...


