Page 312
Job Editor
Group 8
Release 2.02
JET3 Series
Point 4
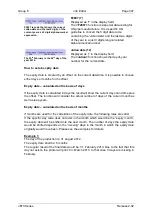
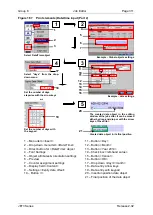
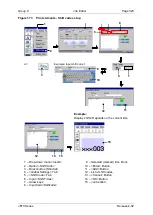
Set the requested expiry date of 15 days. The setting can be carried out stepwise
with the arrow keys
(18)
or
by clicking in the display field of the
<Expiry Date Offset>
section which will open a
number keypad
(19)
for input.
INFORMATION
You will find further information about working with the number keypad in
the
chapter
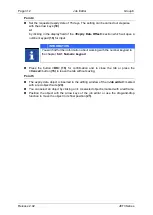
Press the button
<OK>
(16)
for confirmation and to close the tab or press the
<Cancel>
button
(15)
to leave the tab without saving.
Point 5
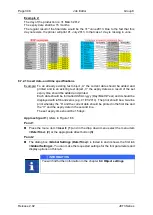
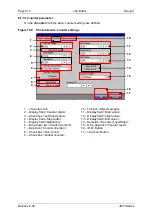
The expiry date object is inserted to the editing window of the
<Job editor>
marked
with a red object frame
(20)
.
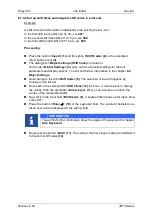
You can select an object by clicking on it. A selected object is marked with a red frame.
Position the object with the arrow keys of the job editor or use the drag-and-drop
function to move the object in its final position
(21)
.
Содержание JET3
Страница 1: ...Operating Manual V2 02 Please keep for future reference ...
Страница 2: ......
Страница 21: ...Group 2 Safety Page 19 JET3 Series Release 2 02 2 4 Safety sticker Figure 1 Safety sticker Safety sticker ...
Страница 380: ...Page 378 Appendix Connection Examples for the Interfaces Group 12 Release 2 02 JET3 Series Interface X3 Outputs ...
Страница 390: ...Page 388 Appendix List of illustrations Group 12 Release 2 02 JET3 Series 12 4 2 Print head SK 6 ...
Страница 391: ...Group 12 Appendix List of illustrations Page 389 JET3 Series Release 2 02 12 4 3 Print head SK 4 Option ...
Страница 392: ...Page 390 Appendix List of illustrations Group 12 Release 2 02 JET3 Series 12 4 4 Cabinet JET printer ...


