164
Chapter 7
Setting Up the Display of Measurement Results
Auto-scaling the Trace
Auto-scaling the Trace
Step 1.
Activate the trace you want auto-scaled.
Step 2.
Press the
[Scale Ref]
key to display the first page of the Scale Reference menu.
Step 3.
Press the
AUTO SCALE
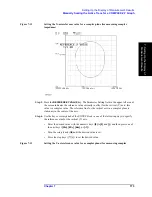
key to auto-scale the trace based on the current trace data. This
adjusts the scale of the trace so that you can easily examine the overall characteristics while
making all of the data visible within the graph.
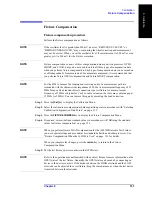
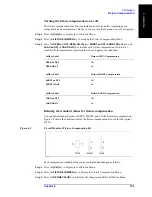
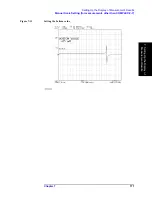
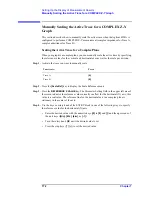
Figure 7-5
Before auto-scaling
To activate:
Press:
Trace A
[A]
Trace B
[B]
Содержание 4294A
Страница 1: ......
Страница 2: ......
Страница 4: ......
Страница 5: ......
Страница 6: ......
Страница 8: ......
Страница 16: ...8 ...
Страница 30: ...22 Chapter1 Installation Power Cable Figure 1 2 Alternative Power Cable Options ...
Страница 70: ...62 Chapter3 Front Rear Panel and LCD Display Items Displayed on the LCD ...
Страница 100: ...92 Chapter5 Setting Measurement Conditions Setting Sweep Range Figure 5 7 After MKR CENTER Figure 5 8 ...
Страница 101: ...Chapter 5 93 Setting Measurement Conditions Setting Sweep Range 5 Setting Measurement Conditions Figure 5 9 ...
Страница 106: ...98 Chapter5 Setting Measurement Conditions Setting Number of Points NOP Figure 5 13 Number of points 801 ...
Страница 330: ...322 Chapter9 Setting Using Control and Management Functions Performing Self Diagnosis of the Agilent 4294A ...
Страница 436: ...428 AppendixB Key Definitions Softkeys displayed by pressing the Recall key ...
Страница 454: ...446 AppendixC Error messages WRONG I O PORT DIRECTION ...
Страница 462: ...454 AppendixD Initial Settings Initial Settings Settings that can be Saved Recalled Settings that can be Backed Up ...
Страница 468: ......


