


Page 6-20
Xerox Document Centre 440/432/430/426/425/420 User Guide
Refer to the following to alter an entry:
¾
Select the required field on the touch screen.
¾
Enter the information required using the displayed
keyboard. Select
[Save]
.
OR
¾
Select
[Edit Next Value]
to display the next available field.
NOTE:
Edit Next Value
will not be available if only one entry
appears in the template or if the last entry has been selected.
¾
Select
[Save]
.
¾
Select
[Start]
. The job will now be scanned.
NOTE:
Any changes that are made using this feature are
discarded after the
Auto Clear
timer expires, or the
Clear All
button is selected.
If an attempt is made to submit another scan job with the same
Document Management Fields entries then the previously
entered data is automatically displayed to the user.
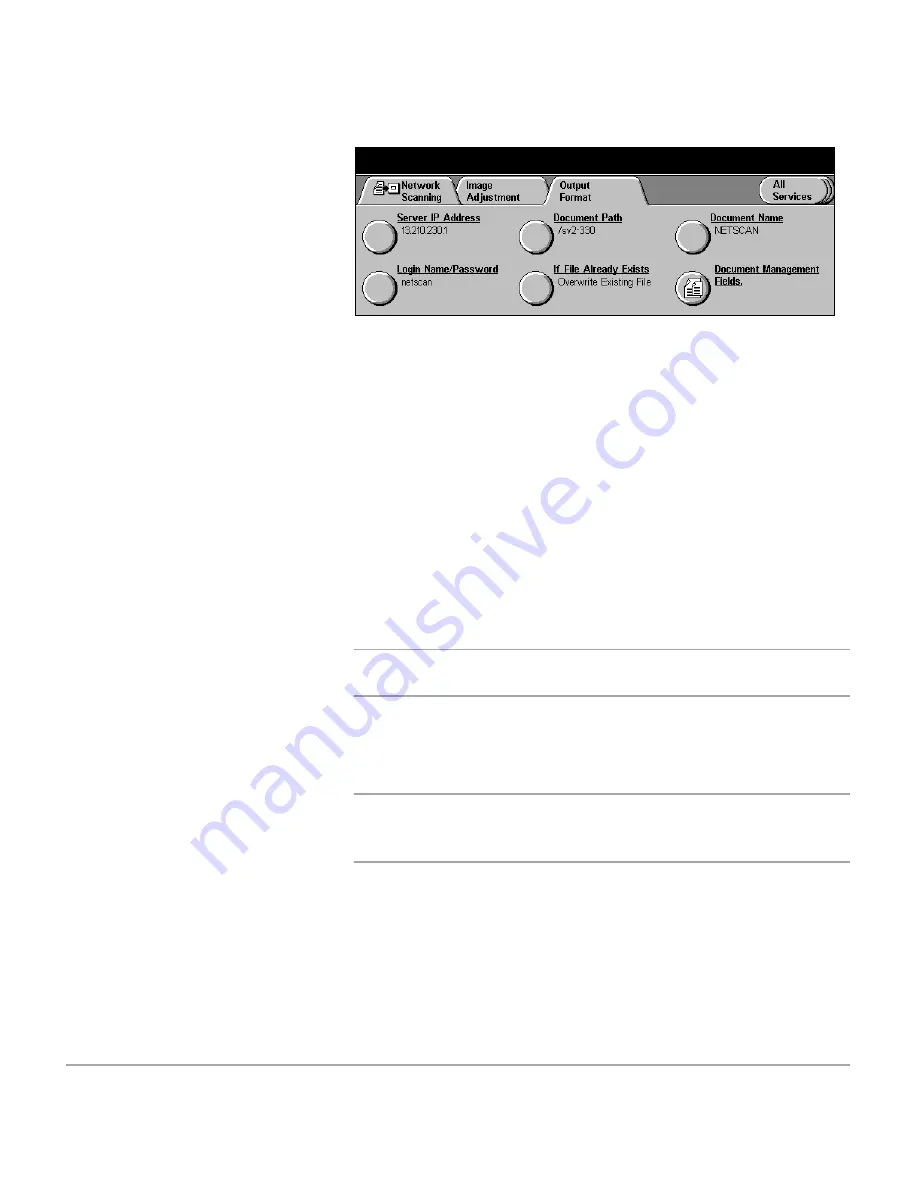
Refer to the following steps to manually change a Document
Management Field entry:
¾
Place a document on the
Document Glass or in the
Document Feeder.
¾
Select
[All Services]
.
¾
Select
[Network Scanning]
.
¾
Select the required template
containing Document
Management Fields data.
The Document Management
Fields data contained in the
template will be displayed on
the touch screen.
Summary of Contents for Document Centre 420
Page 12: ...Page x Xerox Document Centre 440 432 430 426 425 420 User Guide...
Page 184: ...Page 4 68 Xerox Document Centre 440 432 430 426 425 420 User Guide...
Page 238: ...Page 7 22 Xerox Document Centre 440 432 430 426 425 420 User Guide...
Page 248: ...Page 8 10 Xerox Document Centre 440 432 430 426 425 420 User Guide...
Page 296: ...Page 10 20 Xerox Document Centre 440 432 430 426 425 420 User Guide...
Page 396: ...Page 11 100 Xerox Document Centre 440 432 430 426 425 420 User Guide...
Page 442: ...Page 14 10 Xerox Document Centre 440 432 430 426 425 420 User Guide...
Page 452: ...Page 15 10 Xerox Document Centre 440 432 430 426 425 420 User Guide...


