


Rostock MAX v2 Assembly Guide – 4thEd.
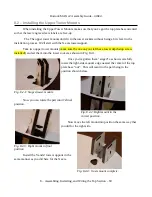
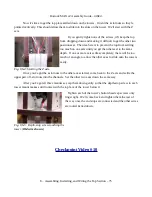
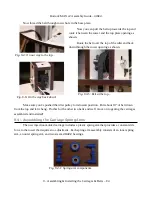
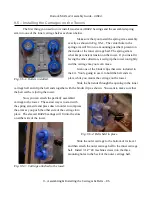
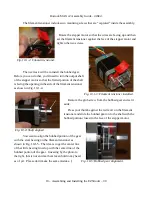
Now it's time to get the top plate settled down on the towers. Orient the t-slot nuts so they're
pointed vertically. This should allow them to slide into the slots on the tower. We'll start with the Z
axis.
If you gently tighten one of the screws, it'll keep the top
from dropping down and making it difficult to get the other two
positions set. The idea here is to prevent the top from settling
too much on one axis until you get the others set to the same
depth. If one or more axis settles completely, there will be too
much of an angle to allow the other axes to slide onto the towers
easily.
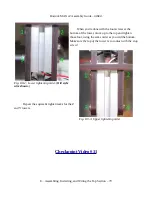
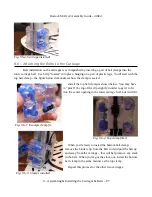
Once you've got the t-slot nuts in the other axes started, come back to the Z axis and settle the
upper pair of t-slot nuts into the channels. Set the other two axes down the same way.
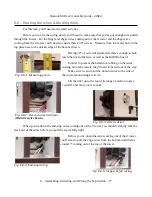
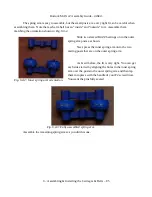
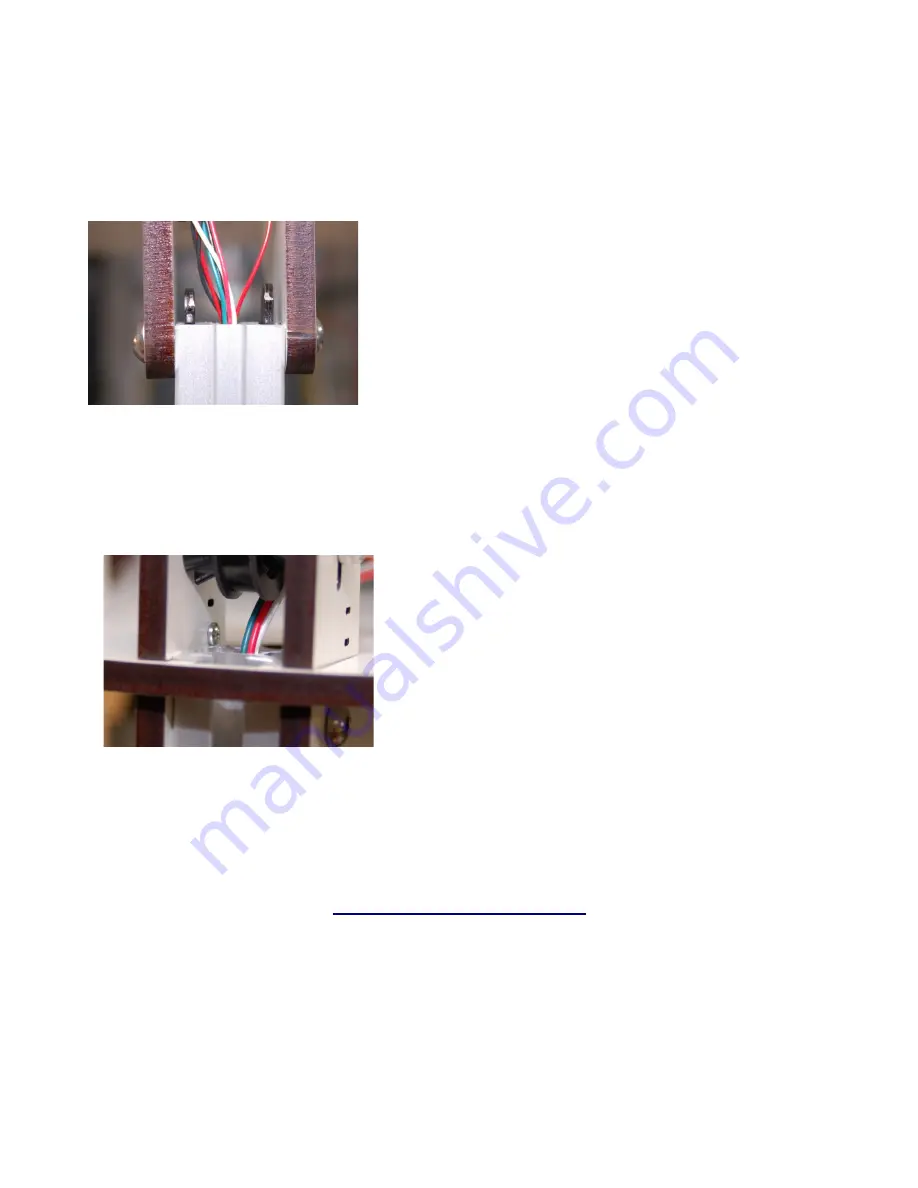
After you've got all three mounts set, tap them down gently so that the depth-stop screw in each
tower mount makes solid contact with the top face of the tower below it.
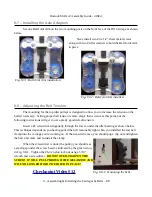
Tighten each of the tower's button head cap screws only
finger tight. We'll come back and tighten them the rest of
the way once the end stops are connected and the other wires
are routed & tied down.
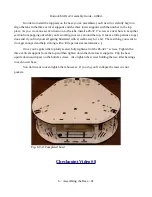
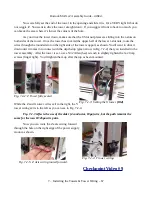
Checkpoint Video #10
8 – Assembling, Installing, and Wiring the Top Section – 75
Fig. 8.6-4: Starting the Z axis.
Fig. 8.6-5: Depth-stop screw touching the
tower. (
Old wire shown.
)


