Rostock MAX v2 Assembly Guide – 4thEd.
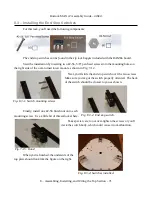
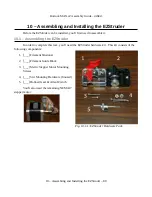
With the wires tied securely to the inside faces of the tower supports, you can move on to tying
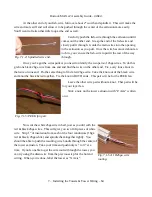
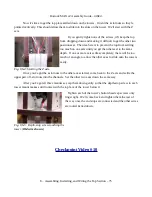
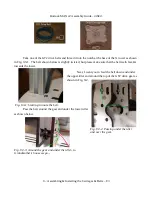
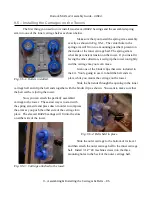
down the X and Z axis end-stop wires. When I run the wire ties, I route them through the holes as
shown in order to keep the head of the wire tie out of sight.
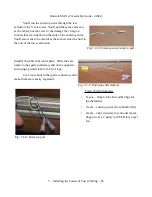
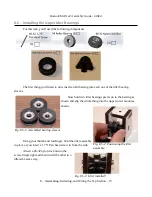
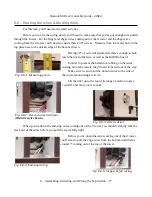
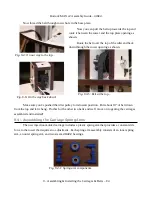
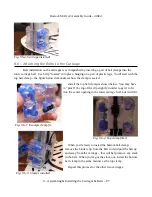
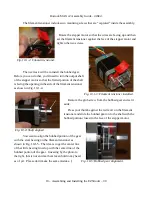
Tie down the end-stop wires at the locations indicated in
green, below.
8.9 – Tightening the Towers
Part of the this process involves making sure that the towers are square to the heated bed. You'll
need a framing square for this task. Before you start, make sure the machine is sitting flat on the table
with no wires under the feet, etc.
The first thing to remember about this process is to make sure that the tower is in contact with
the depth stop screw BEFORE you begin to tighten down each tower (bottom & top). If you don't, the
top of the machine won't be level and that will make calibrating the printer very, very difficult.
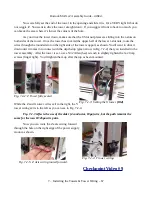
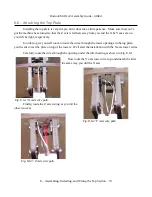
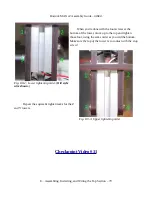
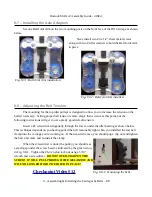
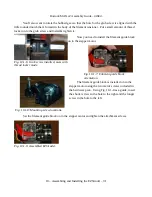
Grab your trusty 12” framing square and a
clamp and use the clamp to hold the framing square to
the center of the channel in the tower.
To square the tower, you'll need to push or pull
the top of the tower in order to get the long arm of the
square to contact the bed all the way across. Once
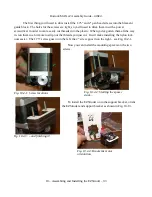
you've got it square, tighten the screws using a 5/32”
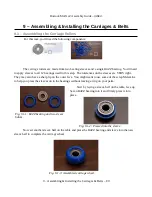
Allen wrench using the pattern shown in Fig. 8.9-2.
8 – Assembling, Installing, and Wiring the Top Section – 78
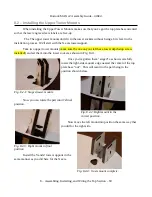
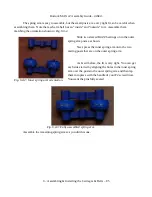
Fig. 8.8-6: Tie routing.
Fig. 8.8-7: End-stop wiring tie
points.
Fig. 8.9-1: Squaring the X tower.

