Rostock MAX v2 Assembly Guide – 4thEd.
16.2 – Installing the LCD Trim Panels
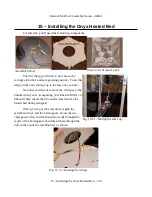
For this step, you'll need the following components:
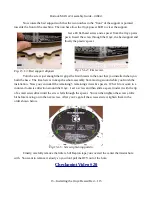
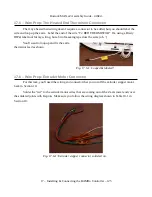
Start by peeling the protective cover paper off the left & right acrylic side trim.
Install the left trim piece using a #4, 3/8” sheet metal screw as shown below.
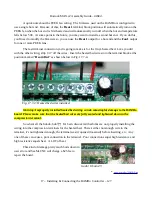
Install the trim on the right side in the same manner
as the left.
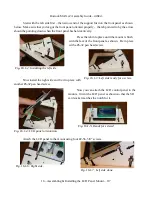
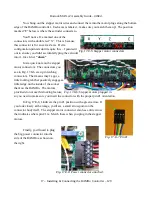
Set the acrylic face plate over the LCD (it should
clear easily) and install two #2-56, 5/8” screws at the
locations shown below. Do not tighten the screws all the
way – leave them a few turns loose.
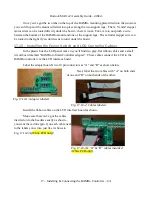
Next, install two more of the #2-56, 5/8” screws at
the top front of the faceplate and tighten.
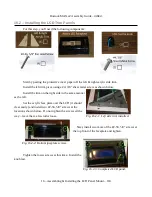
Tighten the lower screws at this time. Install the
knob last.
16 – Assembling & Installing the LCD Panel Mount – 118
Fig. 16.2-1: Left side trim installed.
Fig. 16.2-2: Bottom faceplate screws.
Fig. 16.2-3: Completed LCD panel.

