Rostock MAX v2 Assembly Guide – 4thEd.
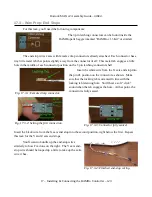
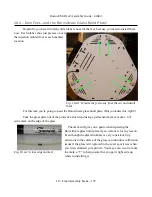
Now install the “R/L” panels on the X and Y axes as shown below. Make sure you've got the
laser engraved “R/L” marking facing inward so it can't be seen once installed.
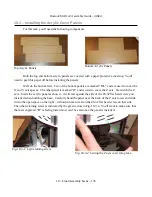
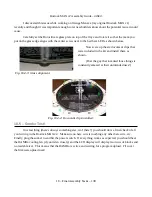
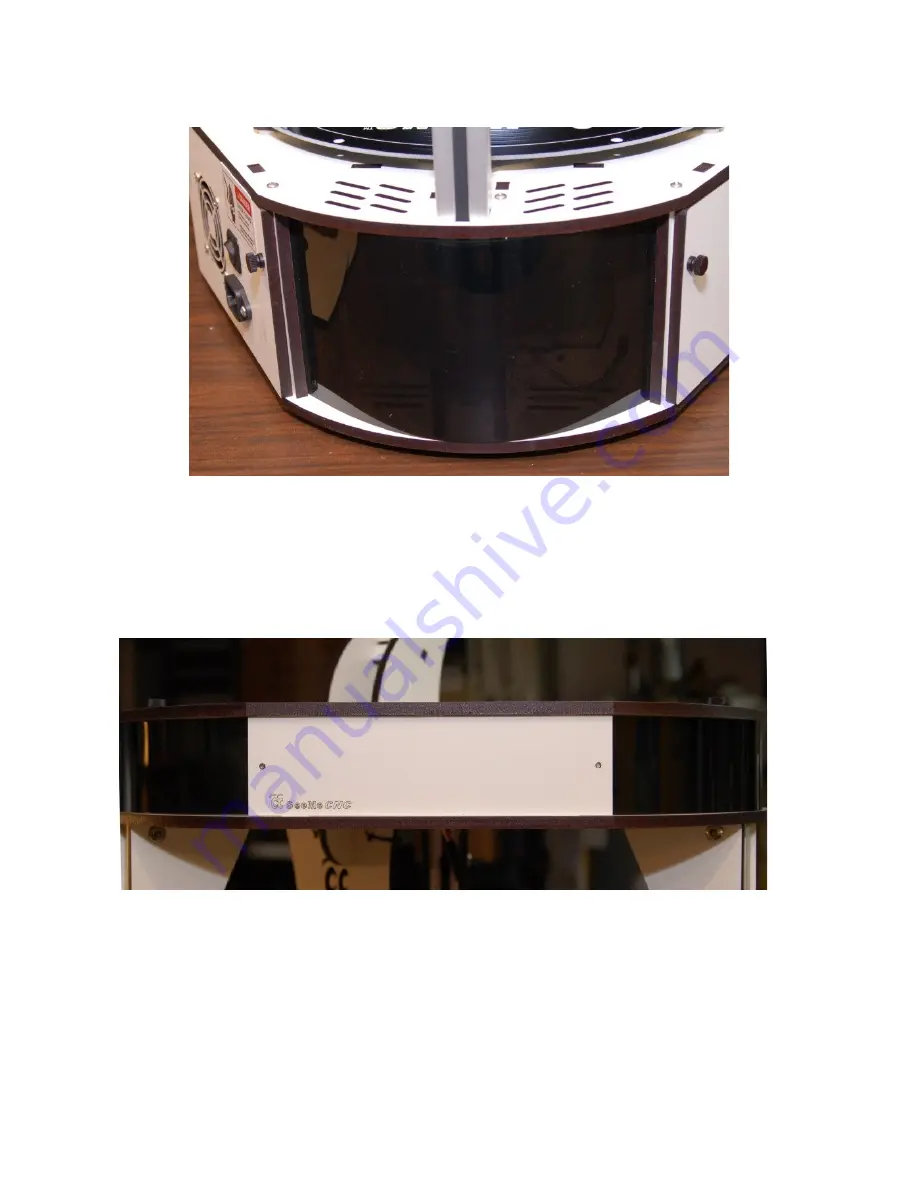
The top acrylic covers are all the same size so you don't have to worry about which one goes
where. Install all three in the same manner as you did the lower acrylic cover panels.
18 – Final Assembly Tasks – 136
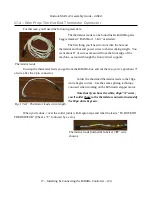
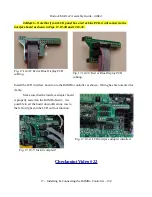
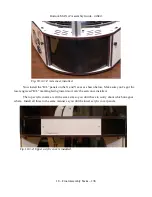
Fig. 18.3-3: Z Axis cover installed.
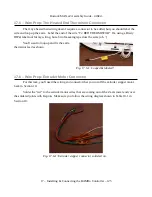
Fig. 18.3-4: Upper acrylic covers installed.


