Rostock MAX v2 Assembly Guide – 4thEd.
9.6 – Attaching the Belts to the Carriage
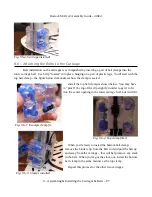
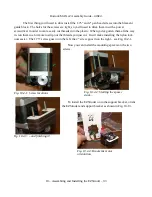
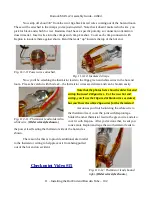
Belt installation on the carriages is accomplished by inserting a pair of belt clamps into the
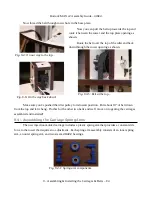
inner carriage half. Each clip “rotates” into place, hinging on a pair of plastic legs. You'll start with the
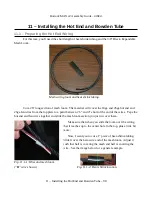
top belt clamp – the figure below demonstrates how the clamp is seated.
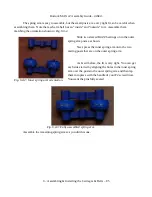
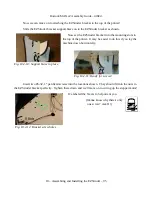
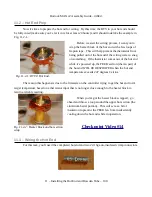
Install the top belt clamp as shown below. You may have
to “pinch” the top of the clip slightly in order to get it to fit
into the center opening in the inner carriage half, but it will fit.
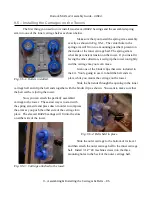
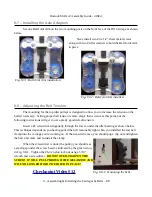
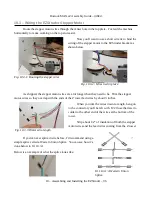
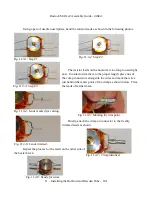
When you're ready to install the bottom belt clamp,
remove the binder clip from the belt end and pull the belt up
and away from the carriage – this will help remove any slack
in the belt. When you've got the slack out, install the bottom
belt clamp in the same manner as the top clamp.
Repeat this process for the other two carriages.
9 – Assembling & Installing the Carriages & Belts – 87
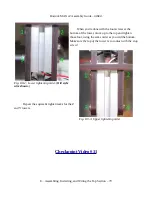
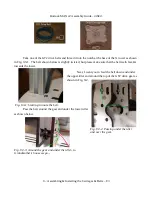
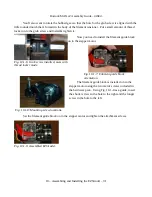
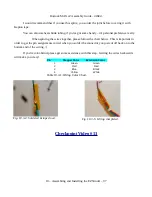
Fig. 9.5-4: Carriage installed!
Fig. 9.6-1: Example clamp fit.
Fig. 9.6-2: Top clamp fitted.
Fig. 9.6-3: Clamps installed.

