Rostock MAX v2 Assembly Guide – 4thEd.
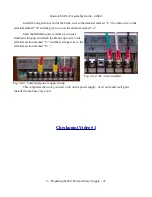
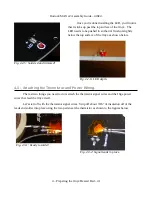
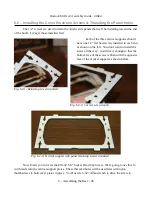
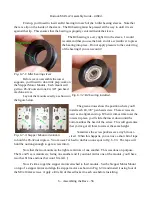
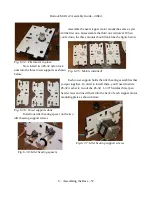
Now install a #6-32, 1” long pan head screw into each of the four lower nuts. This attaches the
vertical supports to the bottom. Leave them just a little bit loose for now. Leaving them a bit loose
will make installing the top a lot easier when we reach that point.
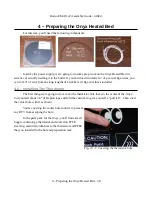
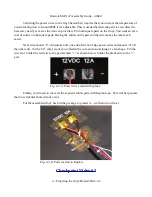
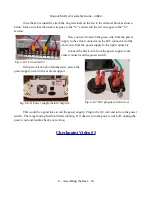
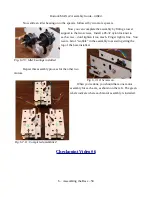
Before you can install the last of the three vertical
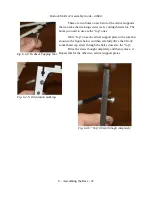
supports, you'll need to install the two RAMBo support
panel legs to the front of the base.
The support legs just rest in place – they're
held firmly when the support plate is installed over
the top of them.
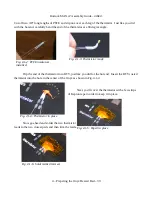
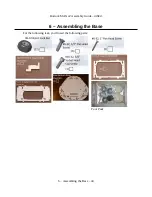
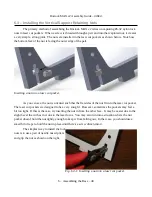
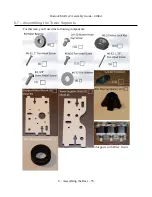
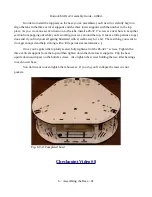
Use two #6-32, 1” Stainless Steel pan head
screws to attach the front vertical support over the
two RAMBo legs as shown below. Like the two
back supports, leave this a bit loose in order to assist
with fitting the top.
Checkpoint Video #4
6 – Assembling the Base – 50
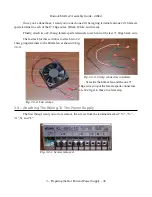
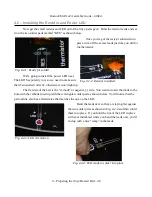
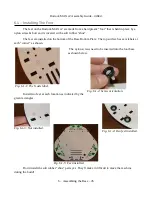
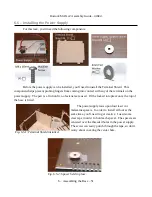
Fig. 6.4-1: Power supply mount and sides in position.
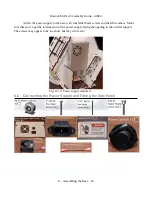
Fig. 6.4-2: Example of an installed screw.
Fig. 6.4-3: Support legs positioned.
Fig. 6.4-4: Front vertical support installed.

