Rostock MAX v2 Assembly Guide – 4thEd.
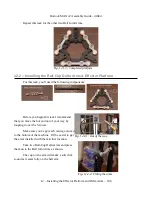
Next, you'll need a pair of the ball-end tension
springs. These springs are used to keep a constant force
on the arms so that they won't pop off during operation.
They also have the added advantage of making the
assembly mechanically “tight”.
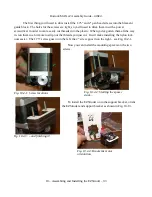
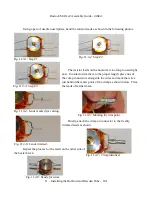
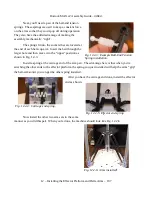
The springs fit into the sockets that are located at
the end of each ball-cup arm. Insert the ball through the
larger hole and then move it to the “upper” position as
shown in Fig. 12.-3.
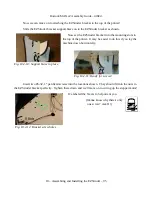
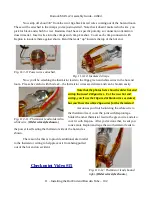
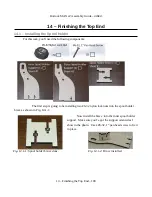
Install a spring at the carriage end of the arm pair. The advantage here is that when you're
attaching the other ends to the effector platform, the spring you just installed will help the arms “grip”
the ball-arms until you can get the other spring installed.
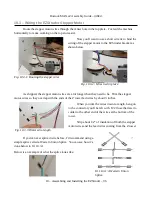
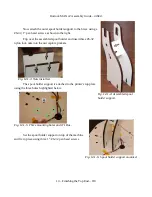
After you have the carriage end done, install the effector
end as shown.
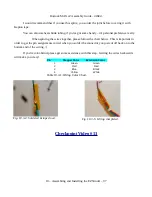
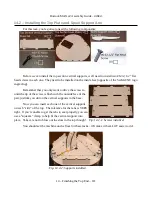
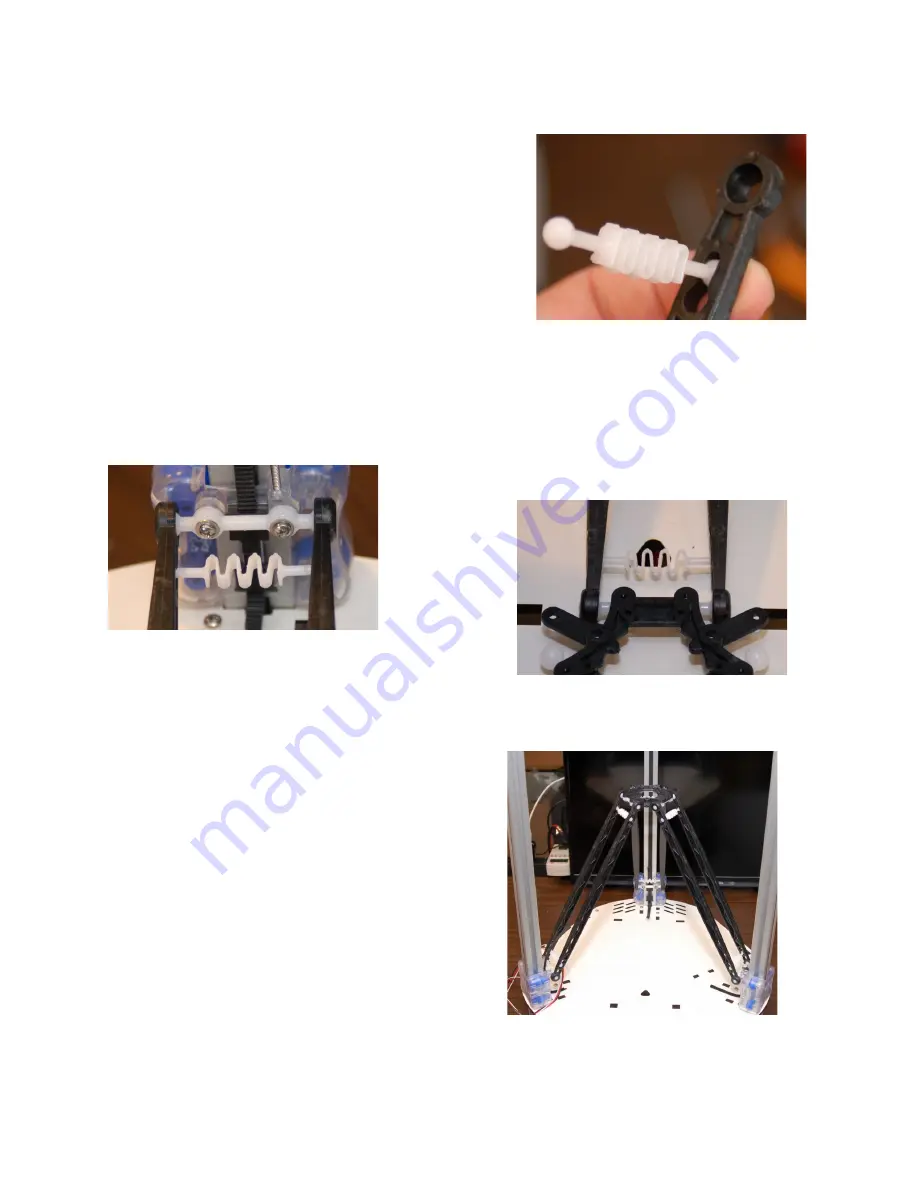
Now install the other two arm sets in the same
manner as you did this pair. When you're done, the machine should look like Fig. 12.2-6.
12 – Installing the Effector Platform and Delta Arms – 107
Fig. 12.2-3: Example Ball-End Tension
Spring installation.
Fig. 12.2-4: Carriage end spring.
Fig. 12.2-5: Effector end spring.
Fig. 12.2-6: Arms installed!

