Rostock MAX v2 Assembly Guide – 4thEd.
16 – Assembling & Installing the LCD Panel Mount
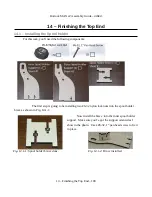
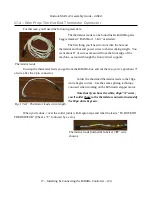
For this task, you'll need the following components:
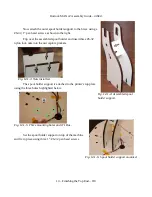
The LCD control panel can be found wrapped in bubble wrap, inside the clear plastic box
marked, “LCD Controller”.
16.1 – Assembling the Front Panel
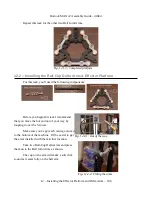
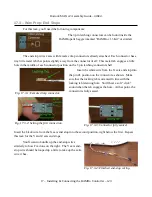
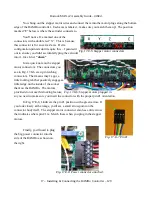
First up, go ahead and install the #6-32
Nylon lock nuts and the #2-56 finish nuts in the
nut pockets on the two LCD mounting brackets.
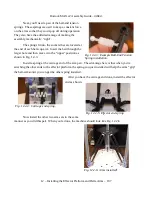
Keep in mind that the panel mounts come
as left and a right part. The left side has a notch
cut out to accommodate the SD card reader
socket in the LCD panel itself. This notch is
highlighted in green in Fig. 16.1-1.
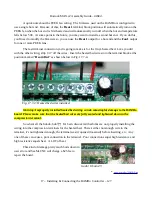
04May16 – Note that your LCD panel may have a red or blue circuit board instead of a
white one. The color change simply indicates the unit came from a different supplier. It will be
installed the same as the white PCB version shown here.
16 – Assembling & Installing the LCD Panel Mount – 116
Fig. 16.1-1: NGIF! (Nuts Go In First)

