Rostock MAX v2 Assembly Guide – 4thEd.
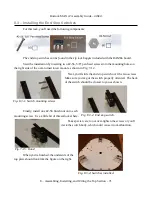
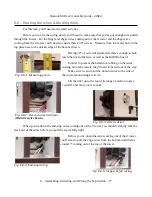
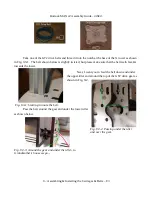
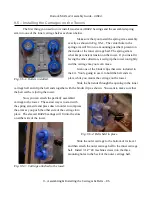
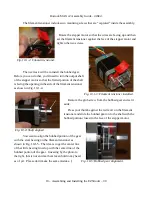
Now thread the belt through tower hole in the base plate.
Now you can pull the belt up towards the top and
route it between the tower and the top plate opening as
shown.
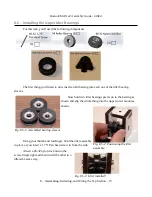
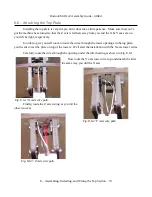
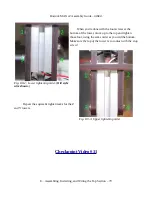
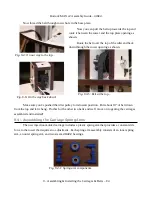
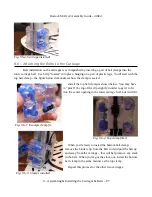
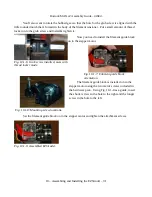
Route the belt over the top of the idler and back
down through the tower opening as shown.
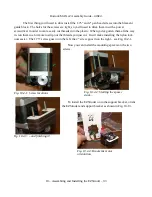
Make sure you've pushed the idler pulley to its lowest position. Pull about 10” of belt down
from the top and let it hang. Do this for the other two belts and we'll move on to getting the carriages
assembled and installed!
9.4 – Assembling the Carriage Spring Arms
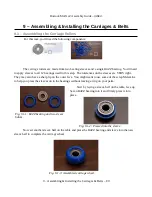
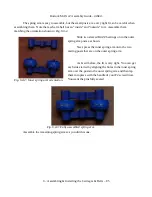
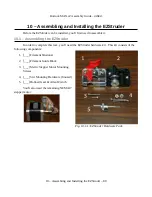
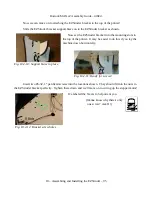
The new injection molded carriage includes a plastic spring arm that provides a constant side
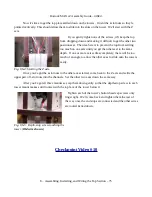
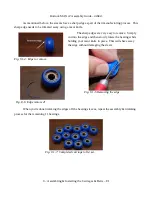
force to the tower that requires no adjustment. Each spring arm assembly consists of an inner spring
arm, an outer spring arm, and two sleeved R4ZZ bearings.
9 – Assembling & Installing the Carriages & Belts – 84
Fig. 9-4: On our way to the top...
Fig. 9.3-5: Belt at the top...
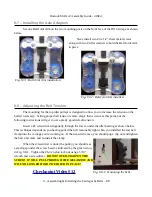
Fig. 9-6: On the way back down!
Fig. 9.4-1: Spring arm components.


