Rostock MAX v2 Assembly Guide – 4thEd.
6.5 – Installing the Power Supply
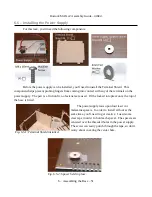
For this task, you'll need the following components:
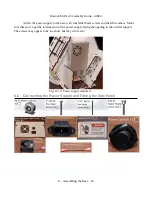
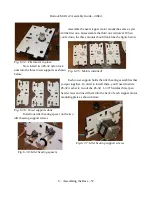
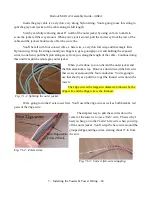
Before the power supply can be installed, you'll need to install the Terminal Shield. This
component helps prevent probing fingers from coming into contact with any of the terminals on the
power supply. The part is a friction fit, no fasteners are used. It'll be locked into place once the top of
the base is fitted.
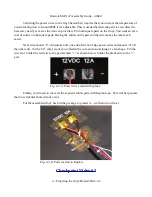
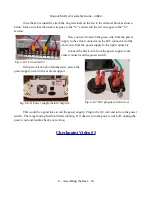
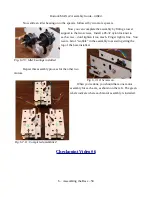
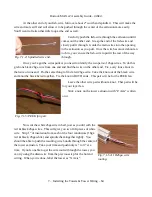
The power supply rests upon four laser cut
melamine spacers. In order to install all four at the
same time, you'll need to get creative. I used some
clear tape in order to hold each spacer. The spacers are
centered over the threaded holes in the power supply.
The screw can easily punch through the tape, so don't
worry about covering the center hole.
6 – Assembling the Base – 51
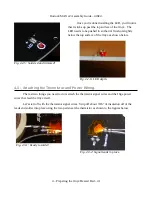
Fig. 6.5-1: Terminal Shield installed.
Fig. 6.5-2: Spacer held in place.

