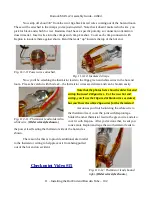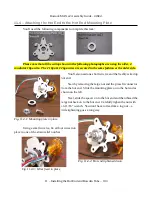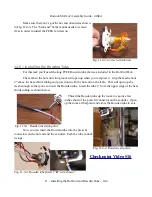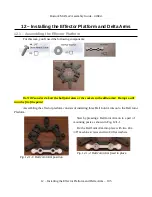
Rostock MAX v2 Assembly Guide – 4thEd.
14.2 – Installing the Top Plate and Spool Support Arm
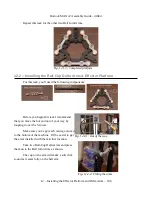
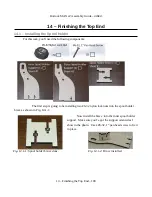
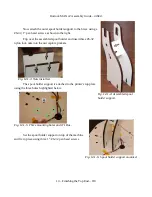
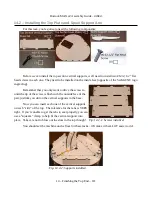
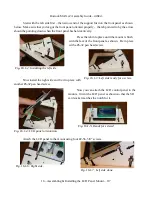
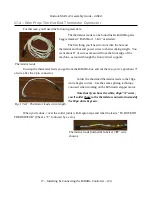
For this task, you're going to need the following components:
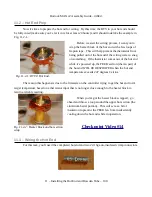
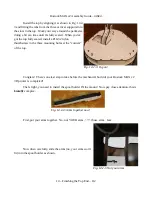
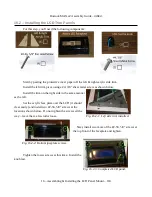
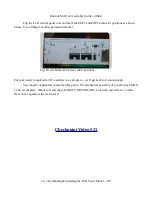
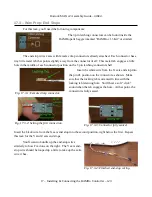
Before we can install the top section vertical supports, we'll need to install two #6-32, 1/2” flat
head screws in each one. They need to be installed on the inside face (opposite of the SeeMeCNC logo
engraving).
Remember that you only want to drive the screw in
until the tip of the screw is flush with the outside face of the
part, just like you did on the vertical supports in the base.
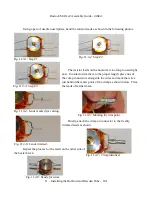
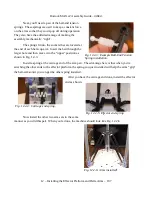
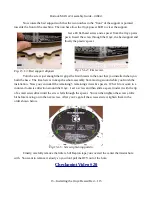
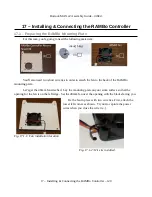
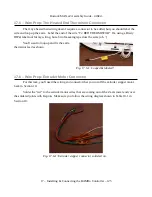
Now you can insert each one of the vertical supports
on each “side” of the top. The tolerance for the tabs is VERY
tight. If you're unable to get the tabs to seat properly, you can
use a “squeeze” clamp to help fit the vertical support into
place. Take care not to blow out the slots in the top though!
You should set the machine on the floor for these tasks – it'll make it them LOT easier to do!
14 – Finishing the Top End – 111
Fig. 14.2-1: Screws installed.
Fig. 14.2-2: Supports installed.

