Rostock MAX v2 Assembly Guide – 4thEd.
6.9 – Installing the Base Top Plate
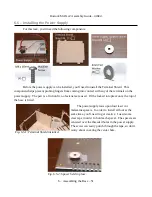
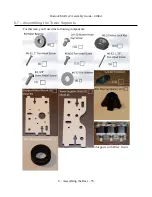
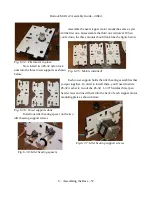
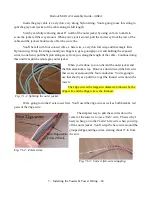
The next task requires the following components:
The six t-nuts specified above should come from the Onyx
Heated Bed package and not from the t-nuts included in the hardware pack.
The next step requires that you open up the Onyx Heated Bed
package and remove the included #4-40 T-Nuts.
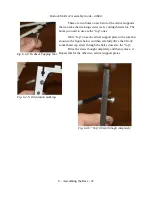
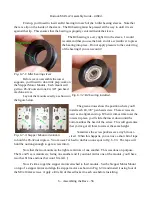
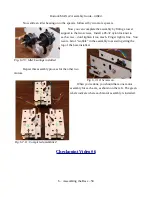
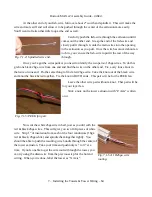
When installing the t-nuts, I find it easier to “draw” them in
instead of just pounding away at them to set them into place. Take a
#4 flat head screw and a white spacer from the Onyx parts pack and
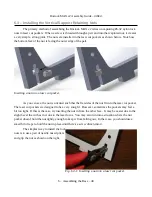
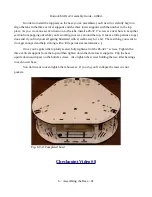
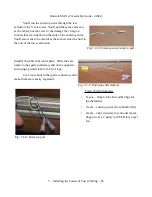
use those to draw the t-nuts into the hole. Lay the top plate down with
the lettering facing the table surface and insert a t-nut into each of the
locations marked in green in Fig. 6.9-3.
When you're done, put a small bit of clear tape
over each t-nut. This will help ensure that they won't
fall out before the Onyx has been installed.
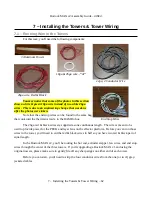
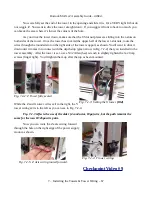
If your base top plate contains a hole in the exact
center, please cover the hole with tape on both sides.
This will prevent the power supply's cooling fan from
blowing air on the center of the heated bed.
6 – Assembling the Base – 60
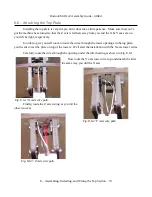
Fig. 6.9-1: Onyx hardware pack.
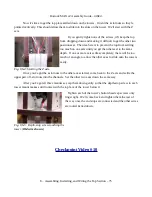
Fig. 6.9-3: T-nut locations.
Fig. 6.9-2: Drawing the t-nut in.

