Rostock MAX v2 Assembly Guide – 4thEd.
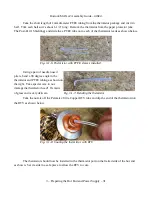
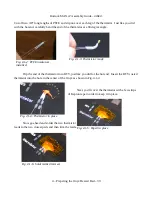
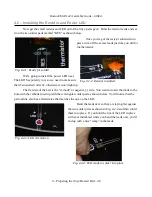
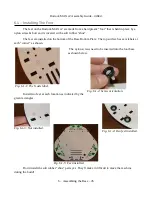
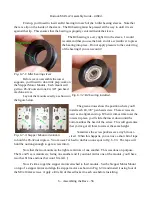
Once you're done installing the LED, you'll notice
that it sticks up past the top surface of the Onyx. The
LED needs to be pushed in so that it's flush or slightly
below the top surface of the Onyx as shown below.
4.3 – Attaching the Thermistor and Power Wiring.
The last two things you need to do is attach the thermistor signal wires and the 18ga power
wires that feed the Onyx itself.
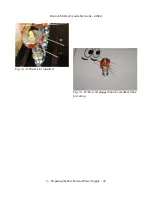
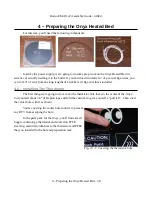
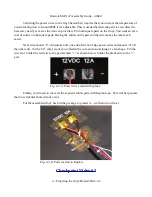
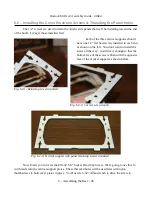
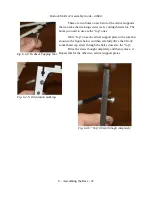
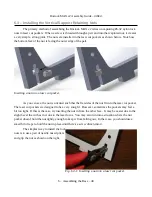
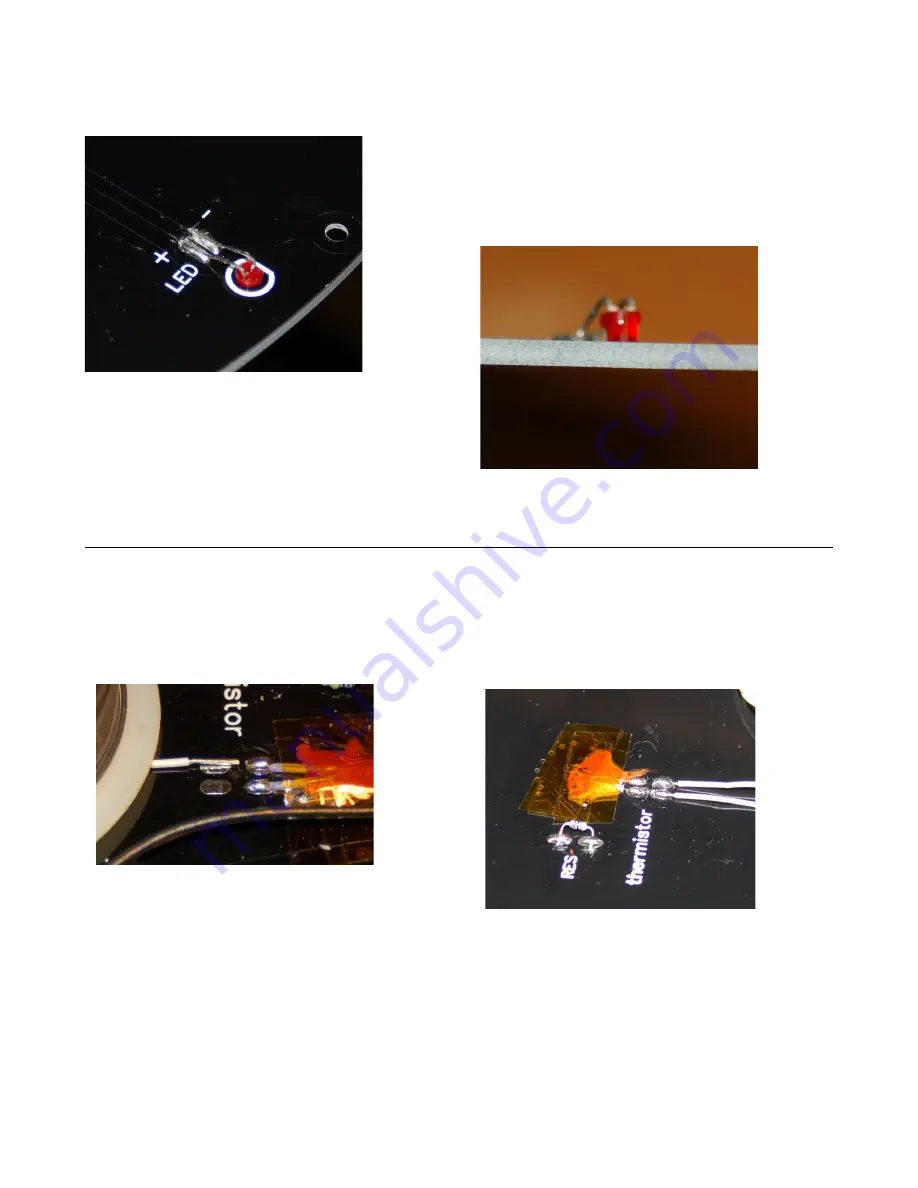
Let's start off with the thermistor signal wires. Strip off about 3/16” of insulation off of the
leads and solder into place using the two pads near the thermistor as shown in the figures below.
4 – Preparing the Onyx Heated Bed – 41
Fig. 4.3-2: Signal leads in place.
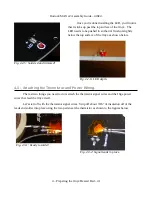
Fig. 4.2-5: Soldered and trimmed!
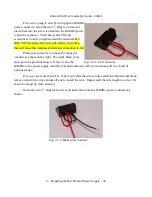
Fig. 4.2-6: LED depth.
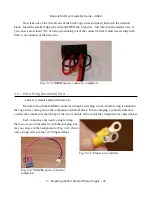
Fig. 4.3-1: Ready to solder!

