Rostock MAX v2 Assembly Guide – 4thEd.
18.3 – Installing the Acrylic Cover Panels
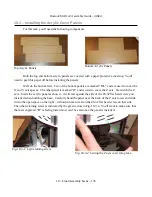
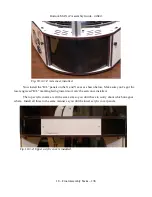
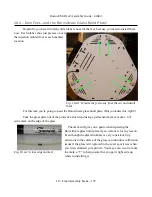
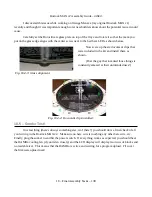
For this task, you'll need the following components:
Both the top and bottom acrylic panels are covered with a paper protective covering. You'll
need to peel this paper off before installing the panels.
We'll do the bottom first. Two of the bottom panels are marked “R/L” and are used to cover the
X and Y axis spaces. The other panel is marked “B” and is used to cover the Z axis. Start with the Z
axis. Insert the acrylic panel as shown – it will rest against the side of the #6-32 flat head screw you
installed when building the base. Carefully bend the panel over the back of the Z axis tower and slide
it into the open space on the right – it should come to rest on the #6-32 flat head screw on that side.
The other retaining screw is indicated by the green arrow in Fig. 18.3-2. You'll want to make sure that
the laser engraved “B” is facing inward so it can't be seen once the panel is installed.
18 – Final Assembly Tasks – 135
Top Acrylic Panels
Bottom Acrylic Panels
Fig. 18.3-1: Left retaining screw.
Fig. 18.3-2: Setting the Z axis cover into place.


