Rostock MAX v2 Assembly Guide – 4thEd.
I discovered this issue while working on Orange Menace (my original Rostock MAX v1)
recently and thought it was important enough to let new builders know about the potential issue it could
cause.
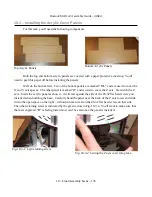
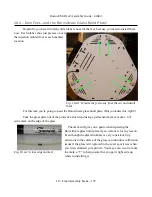
Carefully set the Borosilicate glass plate on top of the Onyx and rotate it so that the mark you
put on the glass edge aligns with the center screw next to the bed heat LED as shown below.
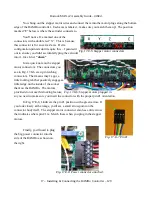
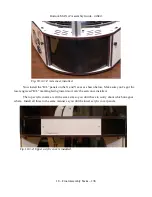
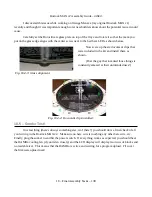
Now scare up the six document clips that
were included in the kit and install them as
shown.
(I bet the guy that invented those things is
constantly amazed at their unintended uses!)
18.5 – Smoke Test!
One last thing (there's
always
something else, isn't there?) you should do is a final check of all
your wiring in the Rostock MAX v2. Make sure no bare wire is touching any other bare wire, etc.
Finally, plug the sucker in and hit the power switch. If everything works as expected, you should hear
the RAMBo cooling fan (if you listen closely) and the LCD display will display two rows of blocks and
no readable text. This means that the RAMBo is active and waiting for a program upload. I'll cover
the firmware upload next!
18 – Final Assembly Tasks – 138
Fig. 18.4-3: Glass alignment.
Fig. 18.4-4: Document clips installed.

