Rostock MAX v2 Assembly Guide – 4thEd.
9.5 – Installing the Carriages on the Towers
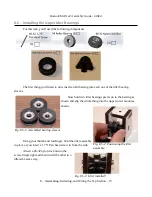
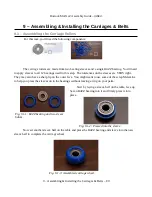
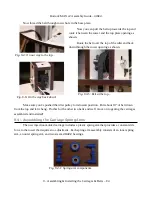
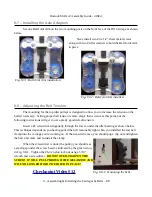
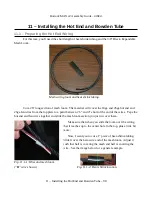
The first thing you need to do is install two sleeved R4ZZ bearings and the assembled spring
arm into one of the inner carriage halves as shown below.
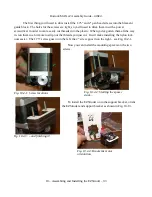
Make sure that you install the spring arm assembly
exactly as shown in Fig. 9.5-1. The center hole in the
spring arm will fit on to a mounting post that's present on
the inside of the inner carriage half. The spring arm is
what keeps constant tension on the tower. If you install it
facing the other direction, it will grip the tower too tightly
and the carriage may not even move.
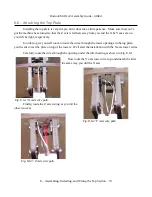
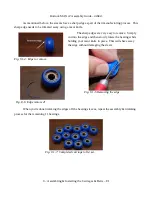
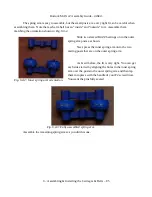
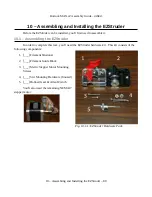
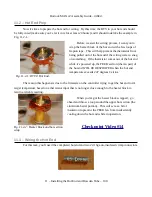
Grab one of the binder clips that were included in
the kit. You're going to use it to hold the belt ends in
place while you mount the carriage on the tower.
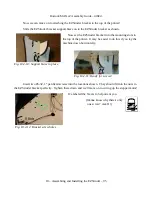
Slide the belt ends through the opening in the inner
carriage half and clip the belt ends together with the binder clip as shown. You want to make sure that
the belt teeth are
facing
the tower.
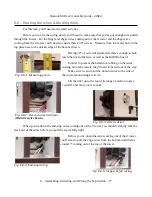
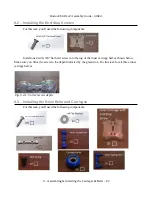
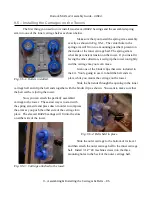
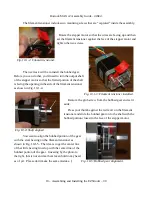
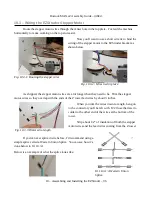
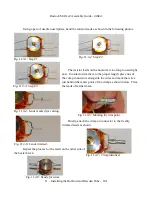
Now you can attach the partially assembled
carriage to the tower. The easiest way is to start with
the spring arm side and press down in order to compress
the arms as you push the other side of the carriage into
place. The sleeved R4ZZ bearings will fit into the slots
on either side of the tower.
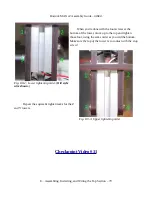
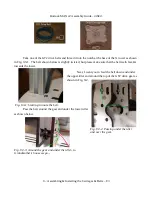
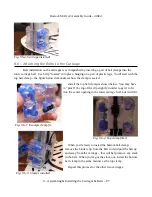
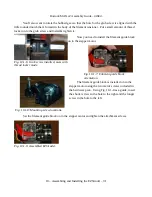
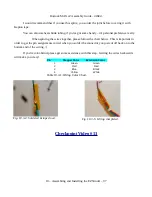
Slide the outer carriage to the bottom of its travel
and then attach the outer carriage half to the inner carriage
half. Install 3 1/2” #4 machine screws into the three
mounting holes in the back of the outer carriage half.
9 – Assembling & Installing the Carriages & Belts – 86
Fig. 9.5-1: Rollers installed.
Fig. 9.5-2: Belts held in place.
Fig. 9.5-3: Carriage attached to the tower.


