Setting Parameters
77 of 132
Publication S177E V2.0 Issue 12/04
9.6 ESD
Configuration
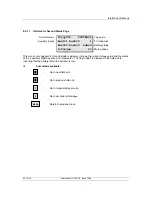
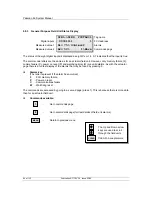
From the 'Top Setup Menu' as shown section 8.8.1, select option ‘7' to enter the ‘ESD Options Setup’.
The screen revealed will be as shown in section 8.8.8. It is possible to enable or disable the ESD
action from the 3 possible sources on the system. The default is to disable ESD on all inputs.
Pressing ‘1’, ‘2’, or ‘3’ will toggle the mode for the labelled input between enabled and disabled. This
function allows the keypad ESD input to be inhibited, in which case the prompt is removed from the
master station commands screen. Similarly the remote terminal input or serial control inputs may be
inhibited.
9.7 Security Access Level
System access security is provided using two parameters, a PIN and the Access level. In general no
setup data or commands to the actuators can be issued from the keypad unless the required PIN has
been set. If access has been gained using the PIN, then the future requirement for a PIN can be
removed, or the level of access required for issuing commands and altering the setup altered.
At any time the PIN may be entered. Pressing the
*
key reveals the PIN entry screen. Successful
entry is acknowledged whilst an unsuccessful entry prompts for a retry. PIN’s may be any number in
the range 1000 to 9999. The default PIN on shipment is set to 1000.
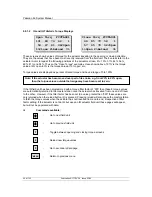
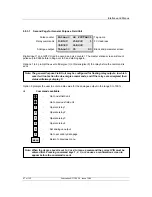
From the 'Top Setup Menu' as shown section 8.8.1, select option ‘8' to enter the ‘Security Setup’.
The screen revealed will be as shown in section 8.8.9. It is possible to enable or disable the
requirement for a PIN or change the Access level from this screen as well as define a new PIN.
The PIN may be placed in or out of use by option 1. A new PIN may be specified using option 2 and
the access level altered using option 3. If the PIN is out of use then the access level is automatically at
level 1 - no restrictions on what may be done via the keypad.
Set the required PIN by pressing ‘2’ and entering the required number. It must be 4 digits in the range
1000 to 9999. Once it is entered make sure that the access level is set correctly.
9.8 Final
Checks
Once all the parameters are set, revisit each screen for setting the Ports, Loop, Tags, Time ESD and
Access settings to make sure they have loaded correctly, and that there are no mistakes.
As a final operation, note all the settings on a record sheet such as that shown in Section 15.
Note: It is always recommended that the external link on terminals 10 and 11 is made even if
the ESD input is not in use so as to ensure that the inadvertent changing of these
settings does not produce an unwanted ESD action.

