Upgrading your Server 7-11
3.
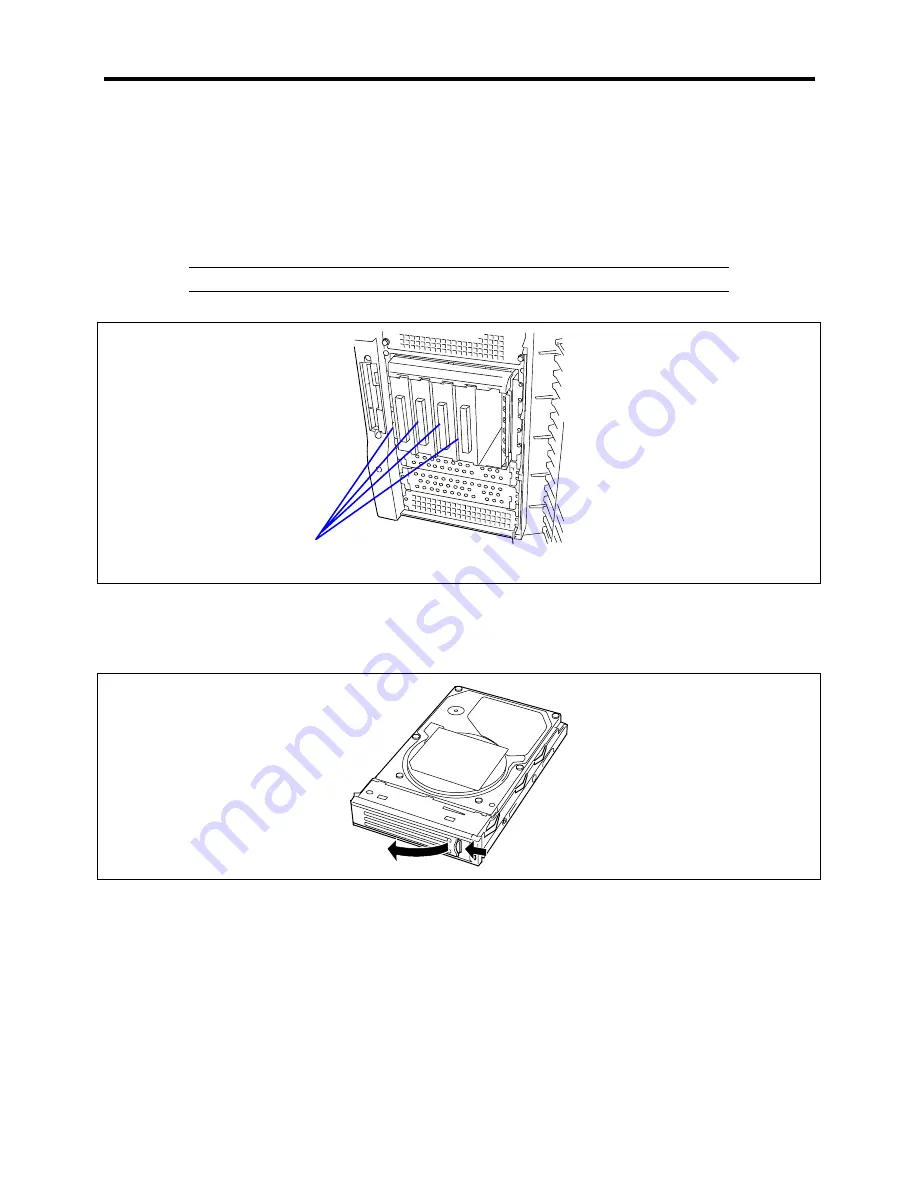
Locate the slot in which you are going to install a hard disk drive.
The server has five slots. Install hard disk drives in ascending order of the SCSI ID
numbers. The SCSI IDs assigned to the slots are all determined: SCSI ID0 to SCSI ID4
from right to left.
4.
Remove the dummy tray or empty disk carrier.
IMPORTANT:
Handle the dummy tray carefully.
Dummy tray
5.
If not already done, install the hard disk drive in the disk carrier and fix it using the four
screws present on the disk carrier.
6.
Pull the hard disk drive handle.
7.
Firmly hold the additional hard disk drive (with the tray provided) and handle, and insert it
into the slot.
Summary of Contents for EXPRESS5800/120MF
Page 1: ... EXPRESS5800 120Mf U s e r s G u i d e ...
Page 2: ......
Page 4: ......
Page 12: ...x ...
Page 24: ...1 6 System Overview Rear View 11 9 10 12 13 14 15 16 2 17 15 18 17 16 1 8 7 6 1 2 3 4 5 2 5 1 ...
Page 58: ...1 40 System Overview This page is intentionally left blank ...
Page 59: ...Chapter 2 Setting Up Your Server This chapter describes how to set up your server ...
Page 202: ...4 62 Installing the Operating System and Utilities This page is intentionally left blank ...
Page 214: ...5 12 Maintenance This page is intentionally left blank ...
Page 229: ...Troubleshooting 6 15 Memory modules DIMM Group 3 DIMM Group 2 DIMM Group 1 ...
Page 304: ...7 50 Upgrading your Server This page is intentionally left blank ...
Page 305: ...Chapter 8 Internal Cabling Diagrams Internal cable connections of the server are shown below ...
Page 318: ...B 4 IRQ and I O Port Address This page is intentionally left blank ...
Page 326: ...C 8 Installing Windows 2000 This page is intentionally left blank ...
Page 340: ...10 Glossary This page is intentionally left blank ...
Page 345: ...xx ...
Page 346: ... ...


