3-42 Configuring Your System
The following describes the clearing procedure.
WARNING
Observe the following instructions to use the server safely. Failure to follow
these instructions may result in death or serious personal injury.
■
Do not disassemble, repair, or alter the server.
■
Do not remove the lithium battery.
■
Do not connect the ground line to a gas pipe.
CAUTION
Observe the following instructions to use the server safely. Failure to follow
these instructions may result in death or serious personal injury.
■
Do not lift the server by yourself. Three people are required to lift this server.
■
Make sure to complete board installation before closing the server.
■
Do not install the server in a rack with the covers removed.
■
Do not pinch your finger within the mechanical components of the server.
■
High temperature can result if the server is operated with the covers removed.
■
Do not pull a device out of the rack if the rack is unstable.
■
Do not pull more than one device out of the rack at one time.
1.
See the section "Preparing for Upgrade" described in Chapter 7.
2.
Remove the left side cover from the server (see Chapter 7).
3.
Change the setting of the jumper switch of the target function to clear (PSWD or CMOS
Clear).
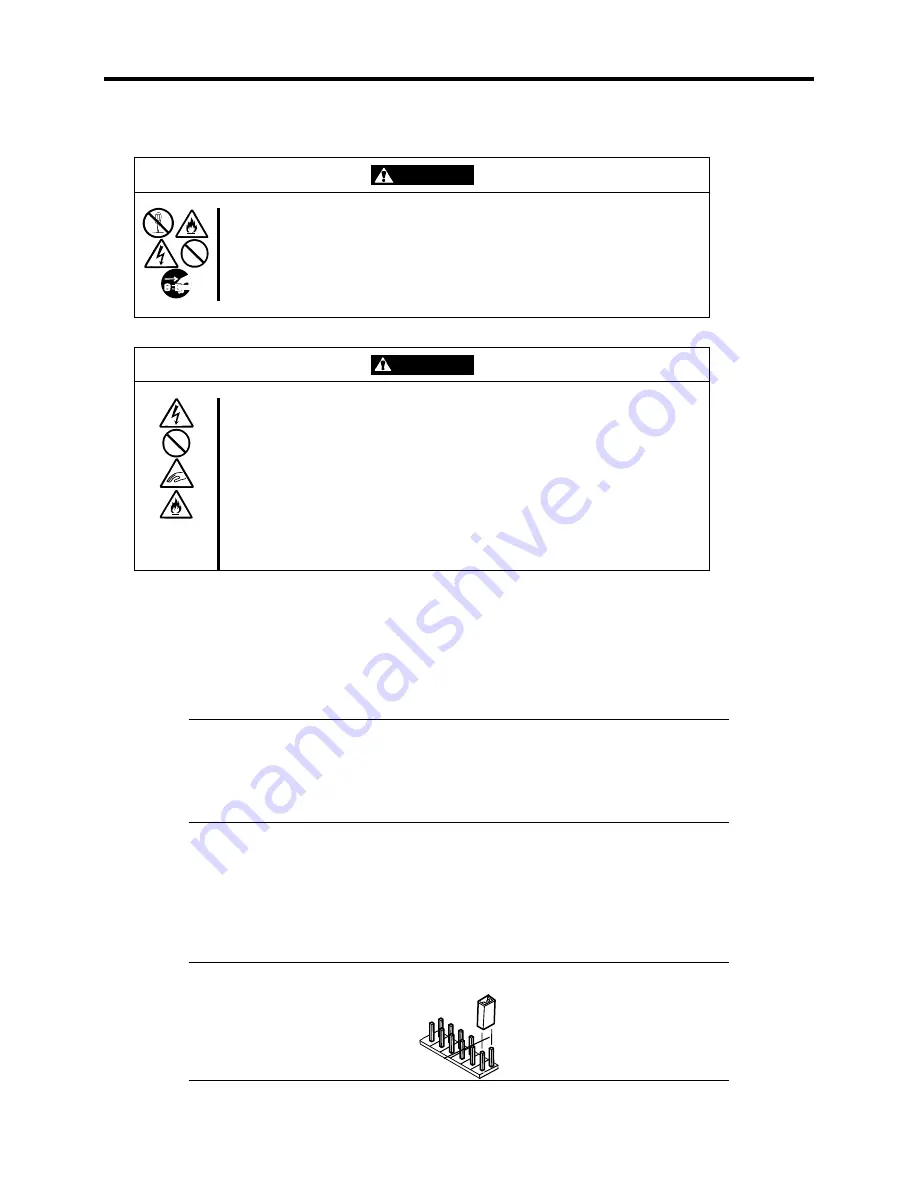
IMPORTANT:
!
Use the clip placed over jumper pins (pins 11 and 12) on the system
board.
!
Be careful not to lose the clip.
4.
Assemble the server as it was and press the POWER switch.
5.
Power off the server at completion of POST.
6.
Change the jumper switch setting back to the original, turn on power, and then define the
setting by using the BIOS Setup utility.
NOTE:
Place the clip over the jumper pins 11 and 12 after use.
Pins 11 and 12.
Summary of Contents for EXPRESS5800/120MF
Page 1: ... EXPRESS5800 120Mf U s e r s G u i d e ...
Page 2: ......
Page 4: ......
Page 12: ...x ...
Page 24: ...1 6 System Overview Rear View 11 9 10 12 13 14 15 16 2 17 15 18 17 16 1 8 7 6 1 2 3 4 5 2 5 1 ...
Page 58: ...1 40 System Overview This page is intentionally left blank ...
Page 59: ...Chapter 2 Setting Up Your Server This chapter describes how to set up your server ...
Page 202: ...4 62 Installing the Operating System and Utilities This page is intentionally left blank ...
Page 214: ...5 12 Maintenance This page is intentionally left blank ...
Page 229: ...Troubleshooting 6 15 Memory modules DIMM Group 3 DIMM Group 2 DIMM Group 1 ...
Page 304: ...7 50 Upgrading your Server This page is intentionally left blank ...
Page 305: ...Chapter 8 Internal Cabling Diagrams Internal cable connections of the server are shown below ...
Page 318: ...B 4 IRQ and I O Port Address This page is intentionally left blank ...
Page 326: ...C 8 Installing Windows 2000 This page is intentionally left blank ...
Page 340: ...10 Glossary This page is intentionally left blank ...
Page 345: ...xx ...
Page 346: ... ...


