4-52 Installing the Operating System and Utilities
– Copy phase: Setup copies all the appropriate software files to the destination directory.
A progress gauge displays the files being loaded and the percentage of completed
installation.
NOTE
:
When installing ESMPRO Manager in an already existing
directory, ESMPRO Manager will not operate unless the access right
required for ESMPRO Manager operation has been set.
When installing ESMPRO Manager in a non-existing directory, the
installer sets the following access rights.
Administrators
Full
Control(All)(All)
Everyone
Read(RX)(RX)
NvAdmin *
Full Control(All)(All)
SYSTEM
Full
Control(All)(All)
* ESMPRO User Group specified at installation.
5.
When the installation is complete, restart the system.
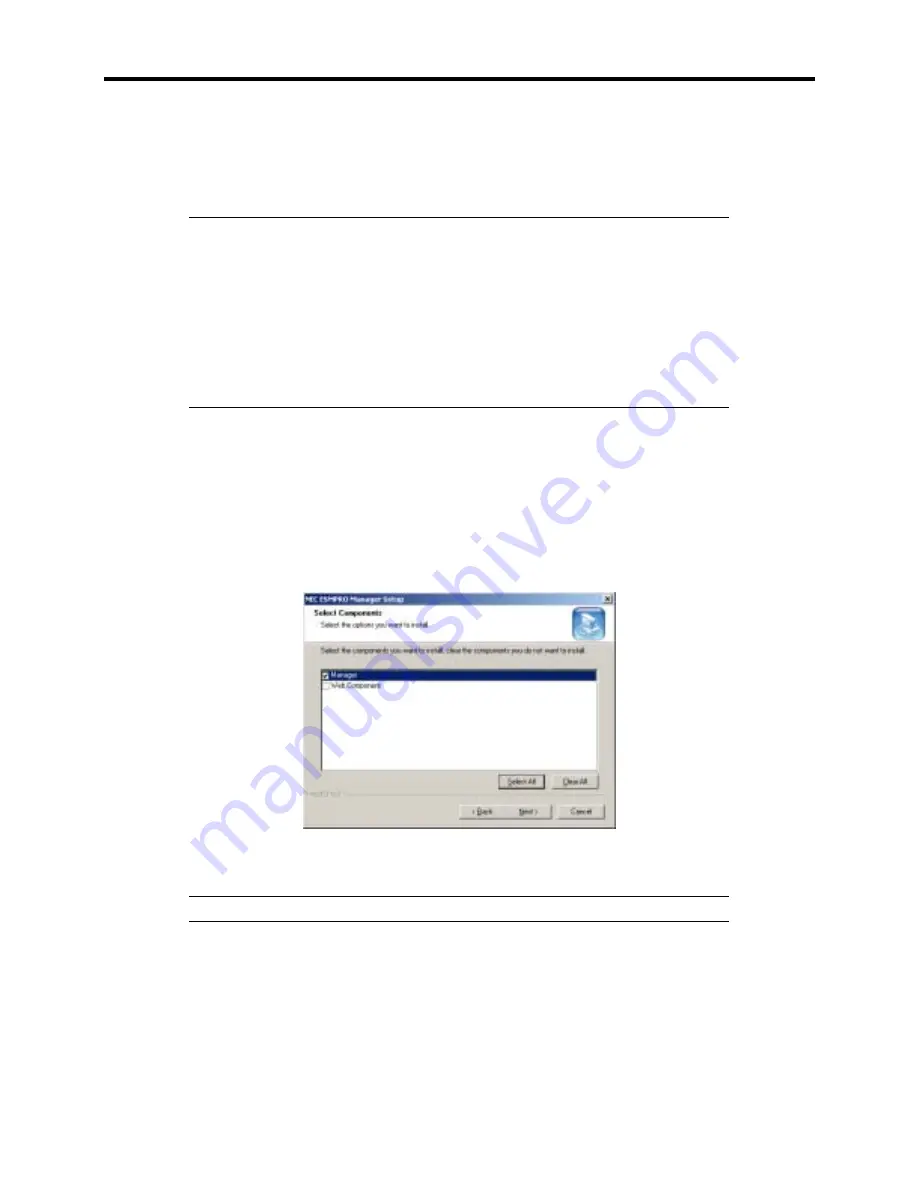
Adding/Deleting the Web Component
To add or delete the Web Component, set up the ESMPRO Manager again by following the
instructions provided in the subsection "Installing the Manager Software".
To add the Web Component, check [Web Component] in the dialog box and then click on [Next].
To delete the Web Component, clear the check of the [Web Component] and then click on [Next].
NOTE:
You cannot go to the next step with all checks cleared.
Using the ESMPRO Manager
For details on using the ESMPRO Manager and other explanations on ESMPRO, refer to the online
document in the EXPRESSBUILDER CD-ROM.
Summary of Contents for EXPRESS5800/120MF
Page 1: ... EXPRESS5800 120Mf U s e r s G u i d e ...
Page 2: ......
Page 4: ......
Page 12: ...x ...
Page 24: ...1 6 System Overview Rear View 11 9 10 12 13 14 15 16 2 17 15 18 17 16 1 8 7 6 1 2 3 4 5 2 5 1 ...
Page 58: ...1 40 System Overview This page is intentionally left blank ...
Page 59: ...Chapter 2 Setting Up Your Server This chapter describes how to set up your server ...
Page 202: ...4 62 Installing the Operating System and Utilities This page is intentionally left blank ...
Page 214: ...5 12 Maintenance This page is intentionally left blank ...
Page 229: ...Troubleshooting 6 15 Memory modules DIMM Group 3 DIMM Group 2 DIMM Group 1 ...
Page 304: ...7 50 Upgrading your Server This page is intentionally left blank ...
Page 305: ...Chapter 8 Internal Cabling Diagrams Internal cable connections of the server are shown below ...
Page 318: ...B 4 IRQ and I O Port Address This page is intentionally left blank ...
Page 326: ...C 8 Installing Windows 2000 This page is intentionally left blank ...
Page 340: ...10 Glossary This page is intentionally left blank ...
Page 345: ...xx ...
Page 346: ... ...


